The Easiest No Sew Christmas Tree Skirt You’ll Ever Make

When we say this is the easiest, cutest no sew Christmas tree skirt you’ll ever make, we really mean it! Follow along with this tutorial to see how you can quickly make your own tree skirt for any size Christmas tree.
Materials for Your No Sew Christmas Tree Skirt:

-
- Fabric* (size determined by the size of your tree)
-
- String or yarn
-
- Sharp fabric scissors
-
- Fabric Marker (we like air and water soluble fabric markers, like these.)
-
- Trim of choice (we used pom-poms)
-
- Hot Glue Gun
*We are using our luxuriously soft Minky Fabric in our Vintage Christmas Quilt print. If you also love this festive, quilty design, you can download the Vintage Christmas Quilt digital seamless pattern and have it printed on the fabric of your choice! If you’re printing your own fabric or buying something at the store, we recommend felt, flannel, fleece, or another cozy, non-fraying fabric for this project.
Step 1: Measure Your Tree & Fabric
The first thing you’ll need to do is determine what size you want your skirt to be. Since we are making a skirt for a small 4-foot tree, we set our tree on the floor and used a piece of string to measure the distance from the base of our tree to where we wanted the edge of the skirt to be. This ended up being about 17″. Since the shape will be circular, we know that we will need our fabric to be about twice that length. With that in mind, we cut a 36″ x 36″ square of fabric.
Your square may be bigger or smaller depending on the size of your tree. Just follow our same formula: Measure from the base of the tree to the edge of the skirt, then double that number to determine the width and height. Cut your fabric into a square matching those dimensions.
Step 2: Mark Your Circle
Take your string and tie one end to your fabric marker. Cut the string to the length you measured in step 1 — the distance from the base of your tree to the desired edge of your skirt. For our tree skirt, that means we used the 17″ measurement.
Once you have your marker and string prepped, grab your fabric!
Lay out your fabric on the floor or a large, flat surface then neatly fold it in half, right sides together.
Next, find the center on your fold-line, and place the loose end of your string (the end without the marker attached) on this point. (Note: We held the loose end in place, but depending on the size of your skirt, it may be easiest to clip or pin the string so it stays put!)
Now, pull your marker to the opposite end of the fabric until the string is straight and taut. With the string extended, carefully draw a quarter-circle with your marker in one direction, starting from the center of the raw edge and moving toward the folded edge. Then re-center your marker and draw the other direction. At the end, you should have a very tidy half-circle.
See the diagrams below:
STRING AND MARKER PLACEMENT:

COMPLETED HALF-CIRCLE LINE:

Step 3: Make Room for the Tree Base
Now, decide how large you want your cut-out at the base of the tree to be. You don’t want it too big! We made ours about 4″ across.
To make our circle precise, we tied another string to our marker and then cut it down to 2″. (Remember: Since you are drawing a half-circle, make sure you divide your desired circumference in half!)
With your tree skirt fabric remaining folded right-sides together, find the exact center along the fold-line. Place the end of your string on this spot. Now repeat the process from step 2 to trace your inner half-circle.
Now you’ll have another small half-circle centered along your fold line, like so:

Step 4: Cut Your Fabric
Once both of your half circles are drawn, take your fabric scissors and carefully cut along the marked lines. Take your time and make sure your fabric stays neat and folded so you have a perfect circle!
After you cut out both circles, unfold your fabric. Voila! It looks like a tree skirt! At this stage, your fabric should look like this:

OPTIONAL: ADD AN OPENING
If you are making this for a larger tree, you may want to cut a line to make it easier to place your skirt around the tree. For our project, we did NOT do this step since the base of our tree is small and removable, and we can easily add our skirt to the tree base before assembling the tree. The choice is yours! If you do want to add an opening, simply cut a line from the center circle to the edge in a straight line (see below). You can add velcro or snaps for closure or simply keep that side toward the back of the tree.

Step 5: Trim Your Tree Skirt
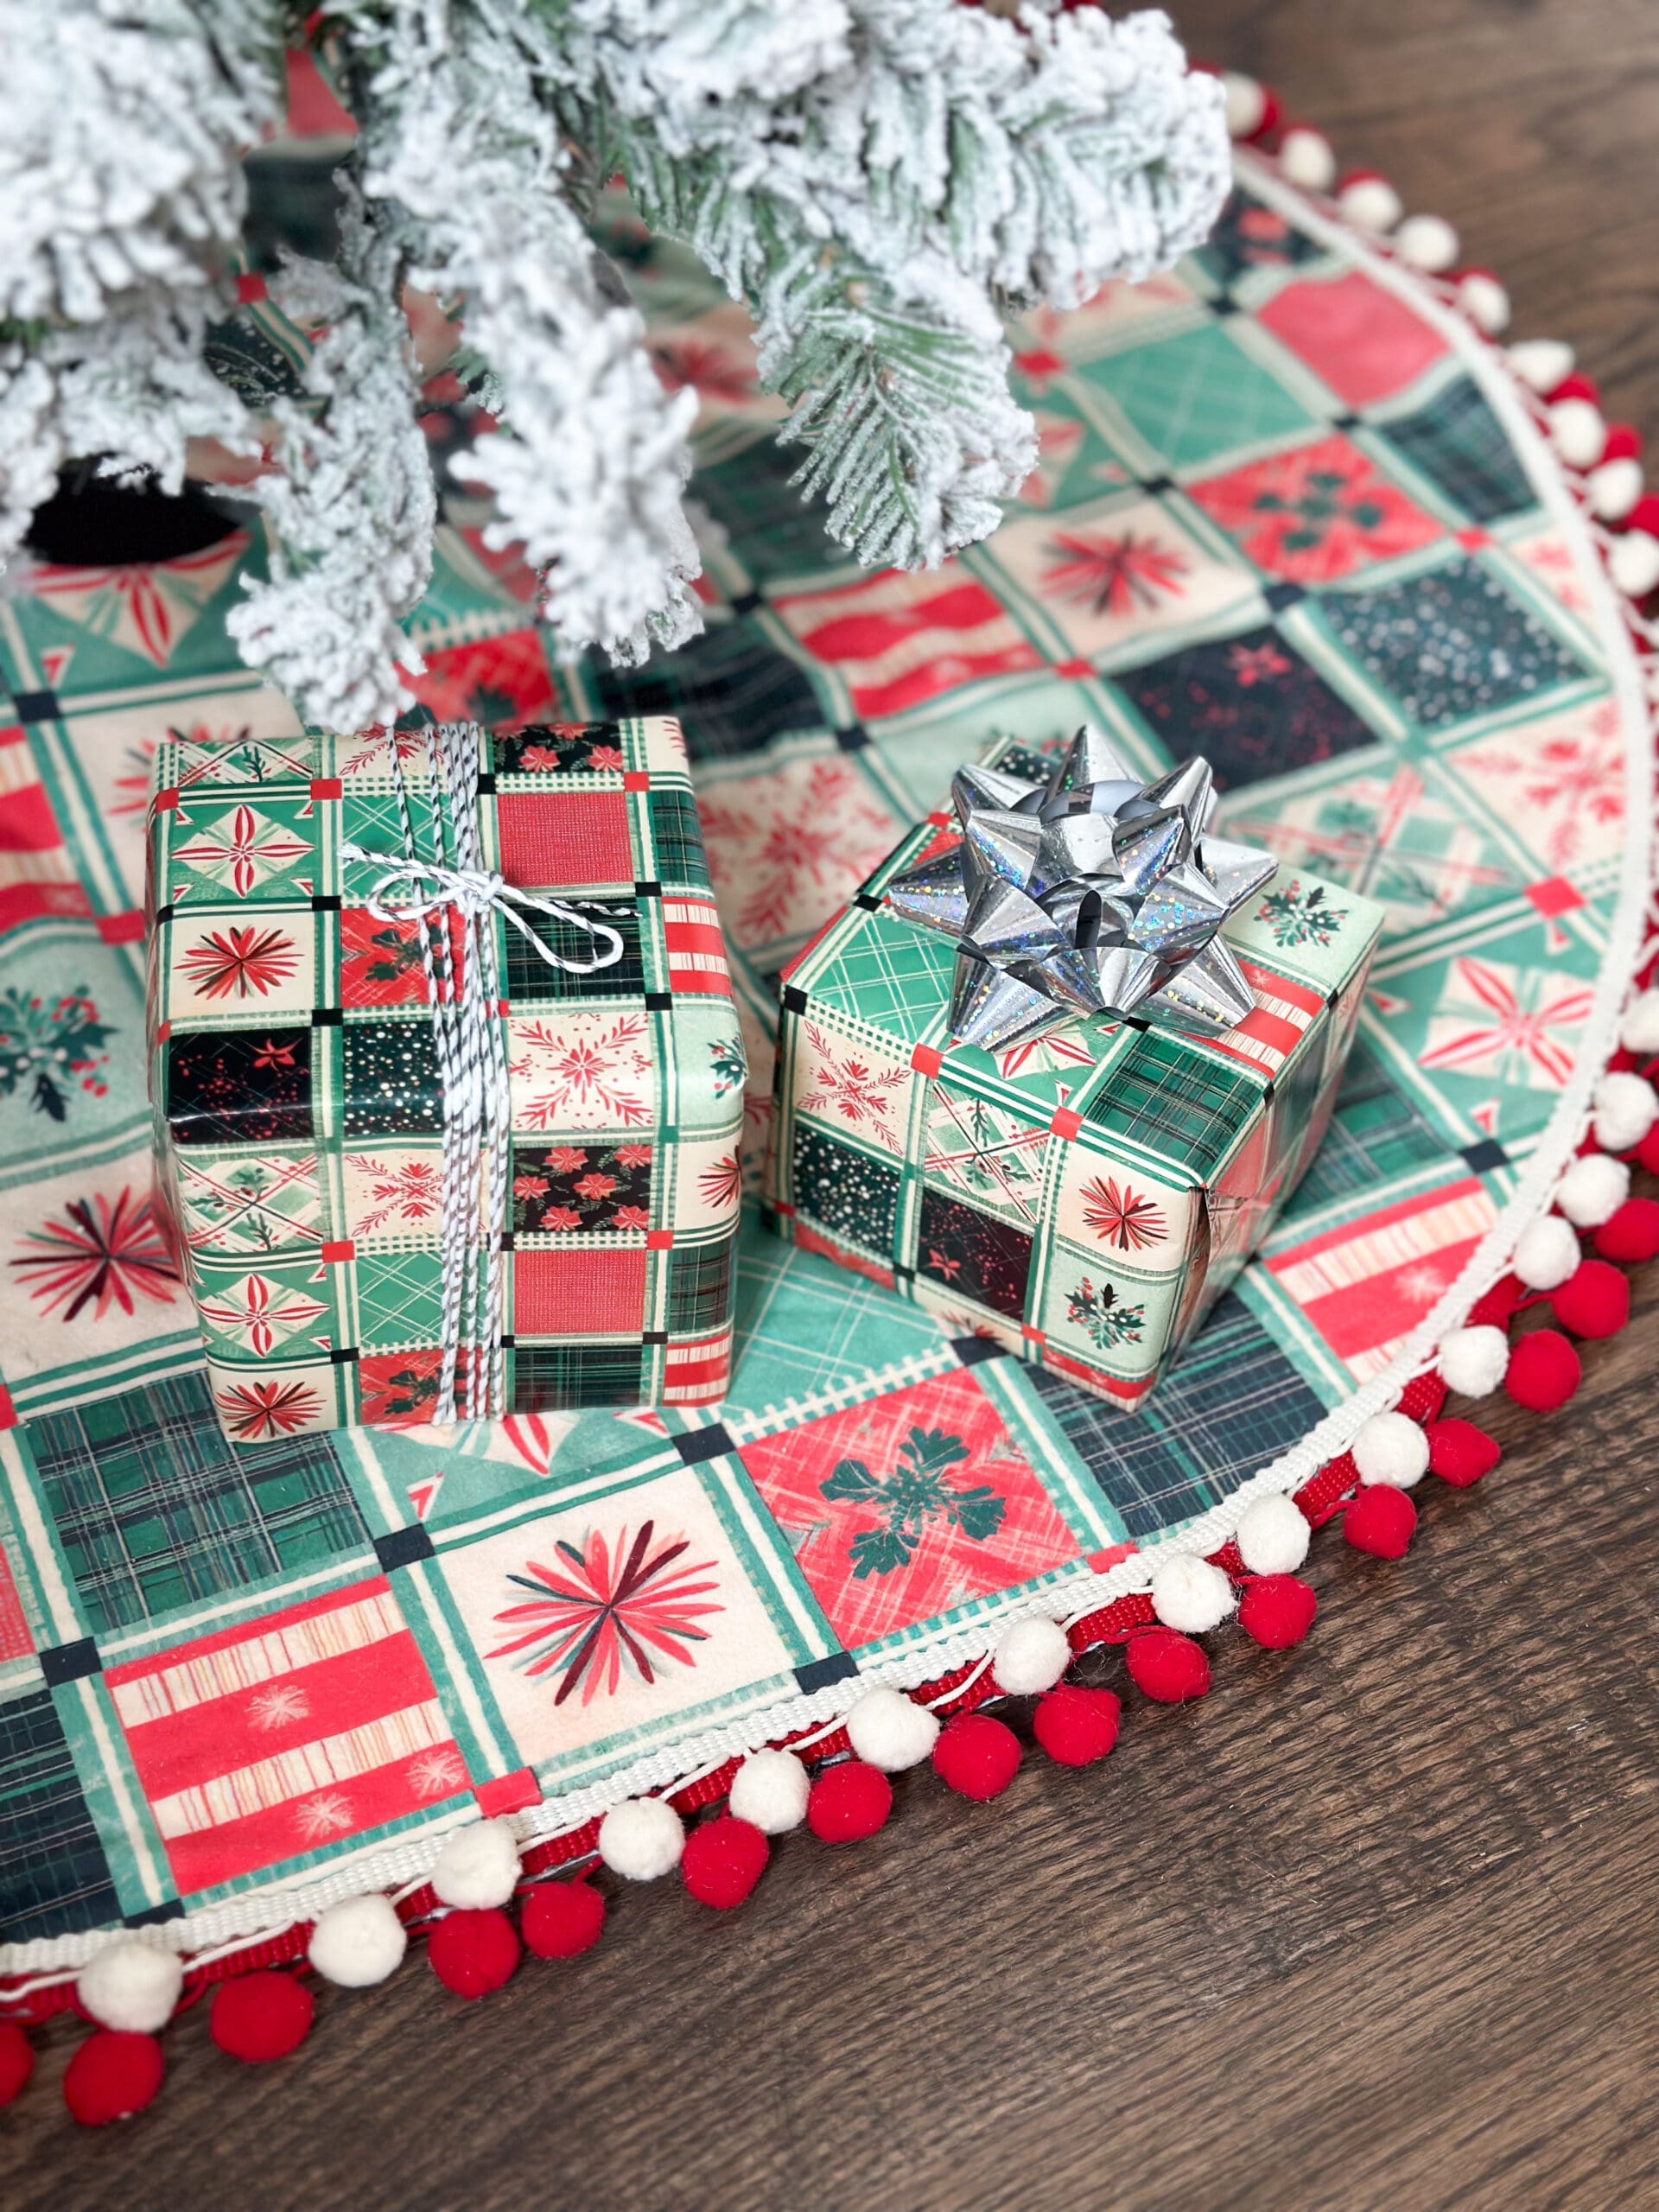
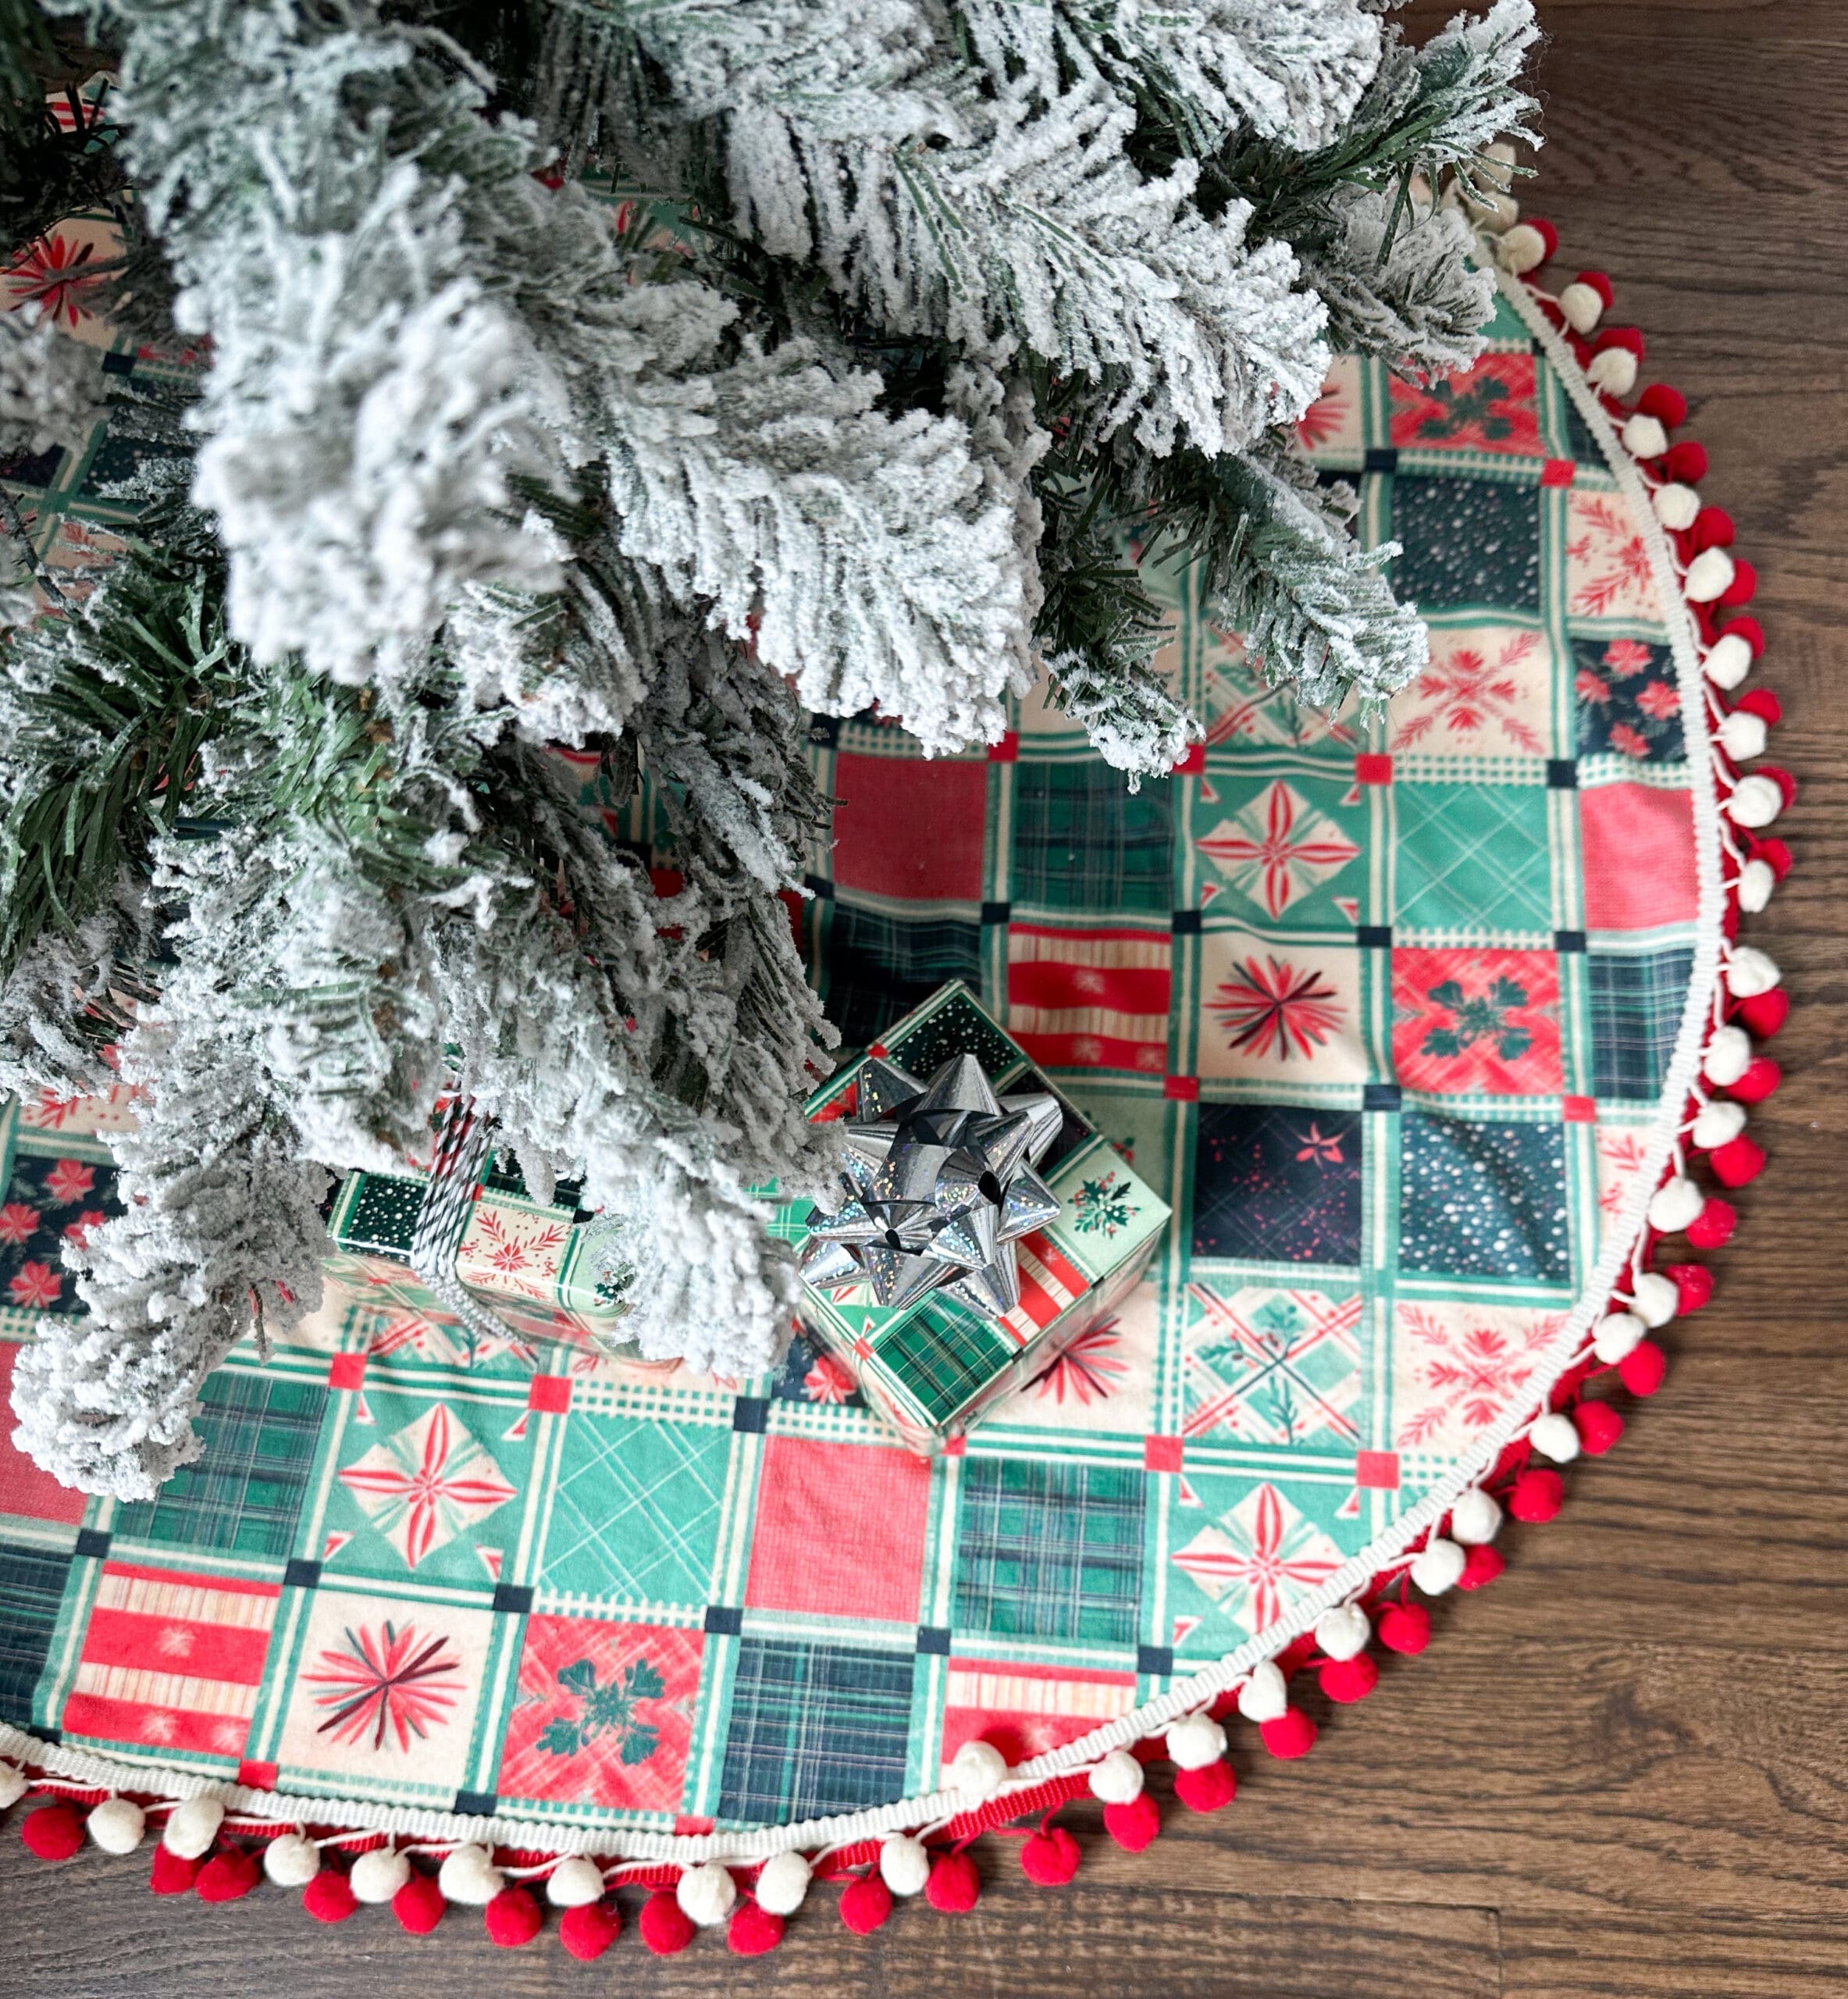
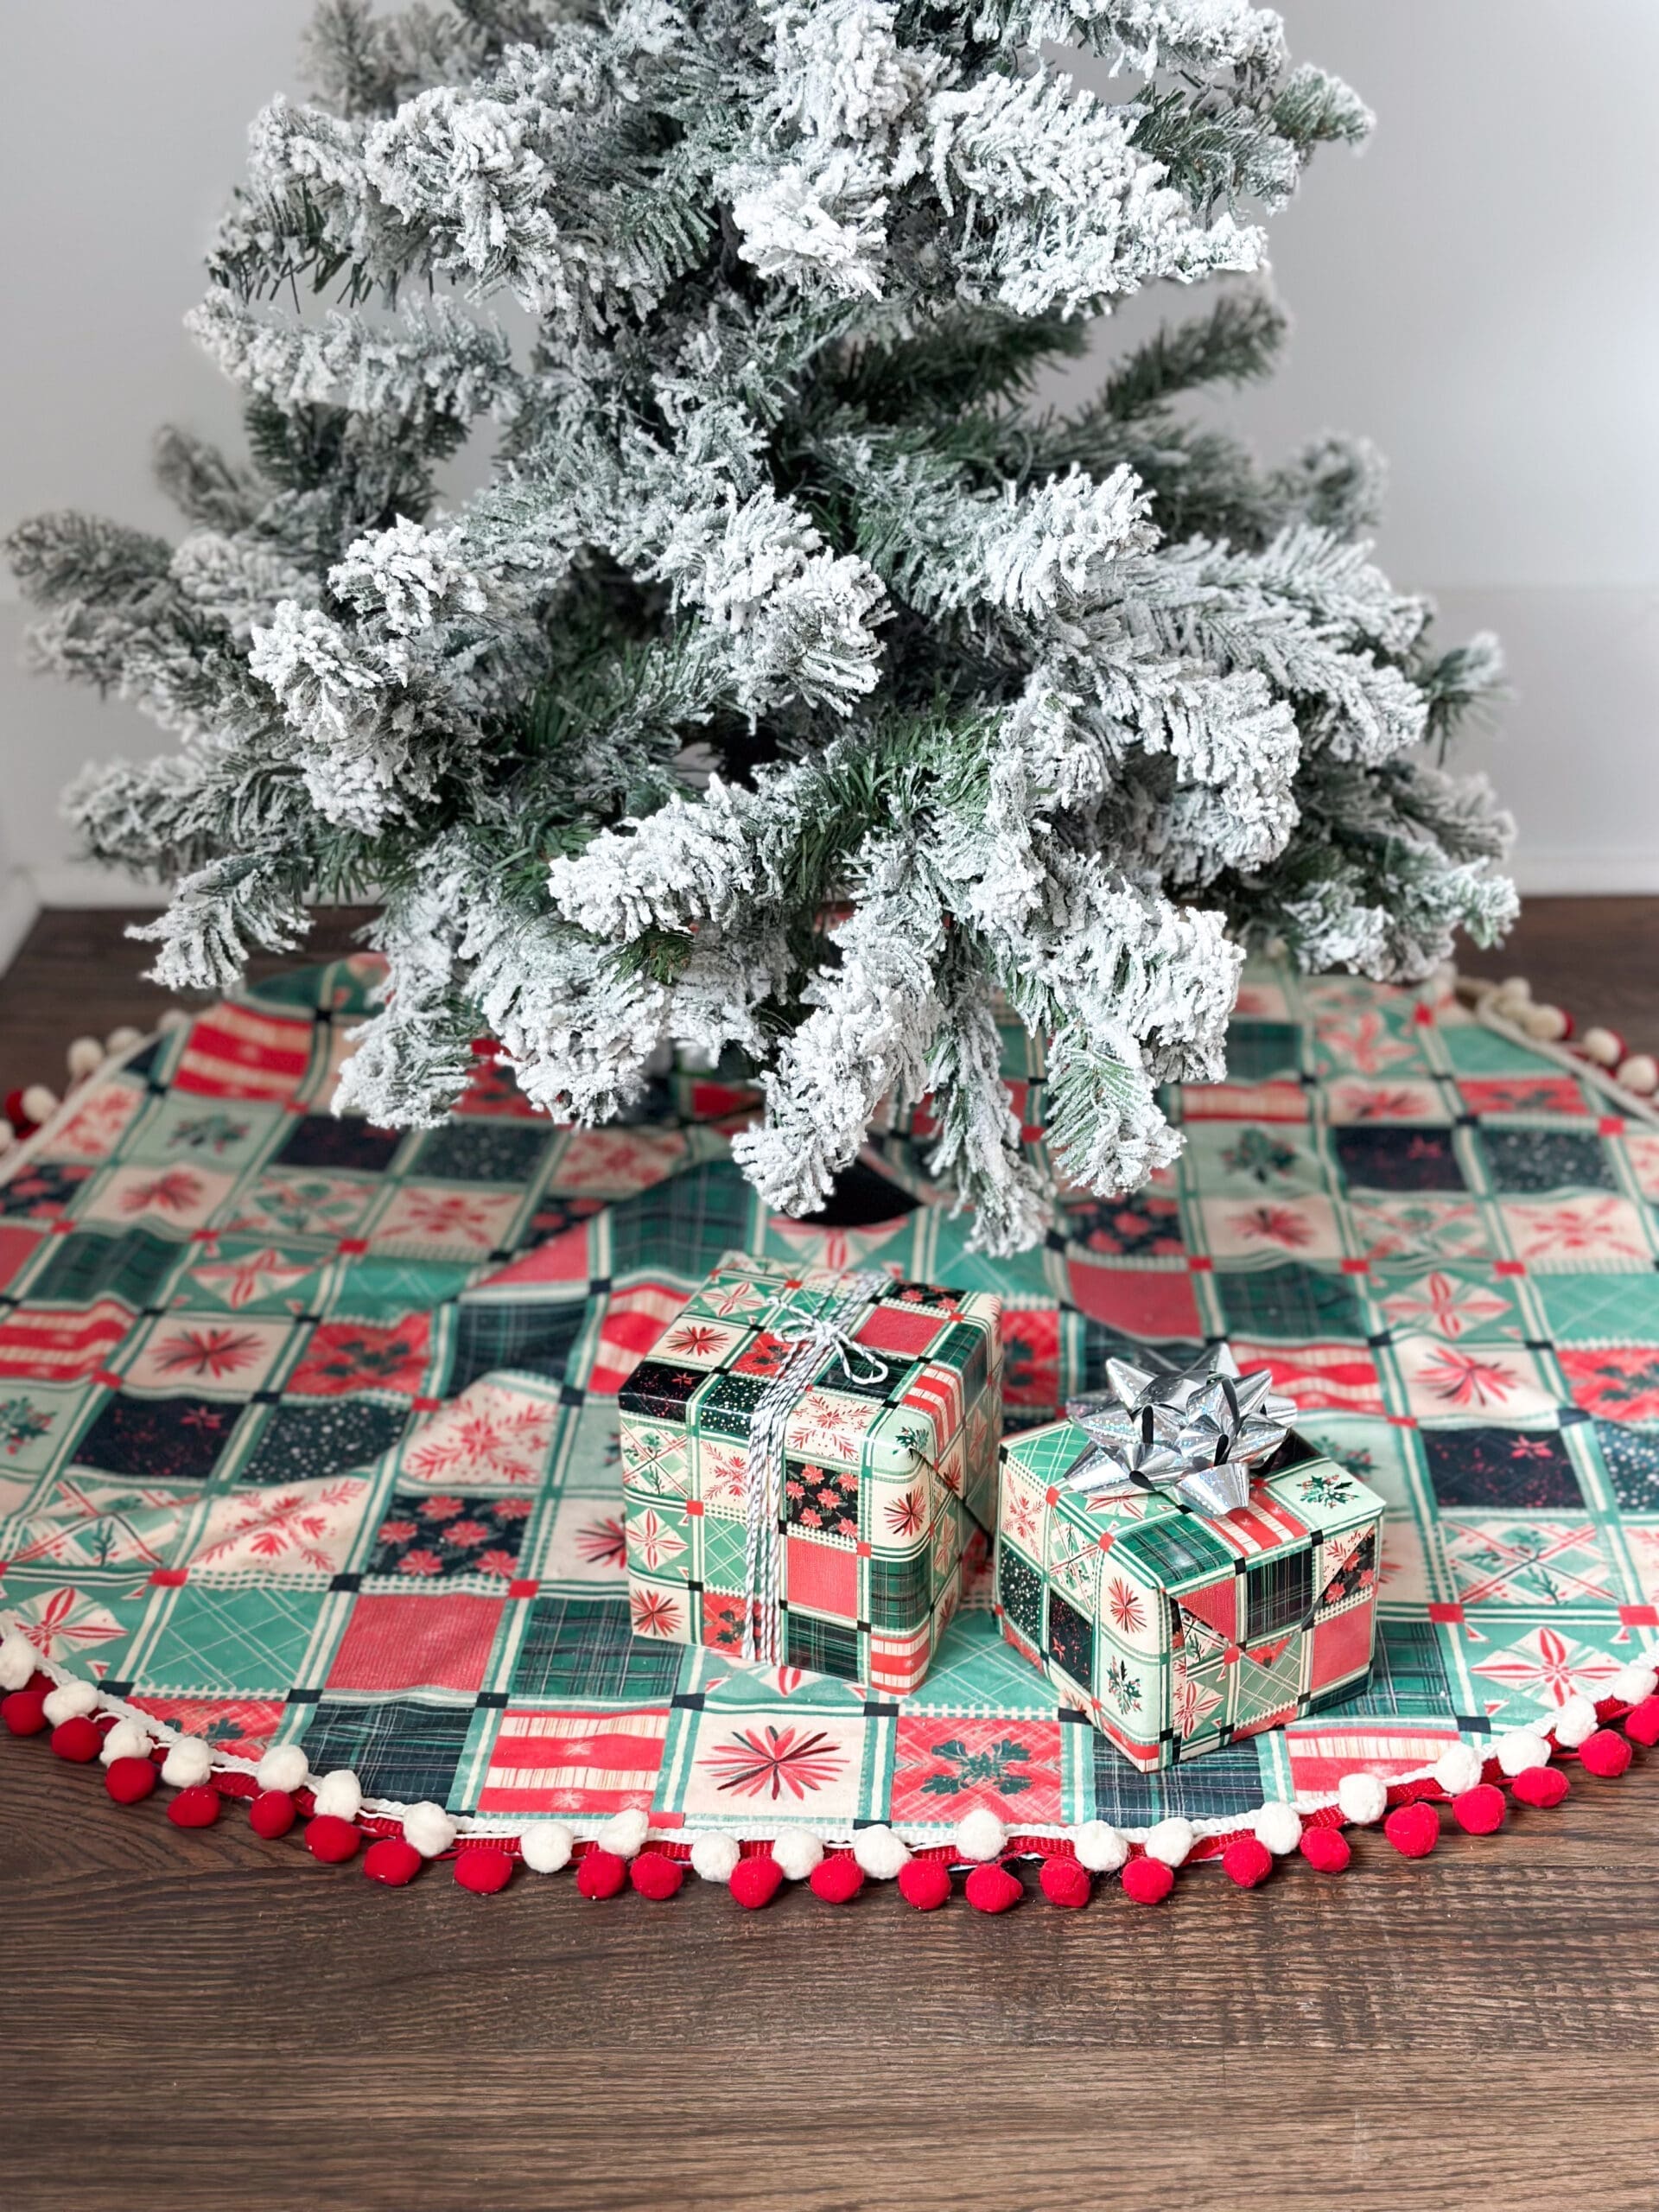
Now for the fun part! Embellishing the edge is what really makes this no sew Christmas tree skirt special. We decided to do a double row of pom-pom trim to coordinate with our vintage quilt print.
To attach the trim, heat up your hot glue gun and carefully attach the trim of your choice all along the edge of your tree skirt. Allow time to dry completely.
PRO TIP: We found that hot glue and sewing are the best ways to adhere trim to higher-pile fabrics like minky. Other craft glues were messier and far less effective.

Add Gifts and Enjoy!
That’s it! In less than an hour you have a brand-new no sew Christmas tree skirt! No sewing, no frustration, and no last-minute trips to the craft store required.
Now all you need are some fabulously wrapped gifts to show off all of your not-so-hard work! If you’re looking for cute gift wrap, be sure to check out our wrapping papers — yes, we even have our Vintage Christmas Quilt print! Check out how cute it looks under our freshly skirted tree:


