Quick & Adorable DIY Bee + Honey Sibling Halloween Costume Using a Cricut Maker
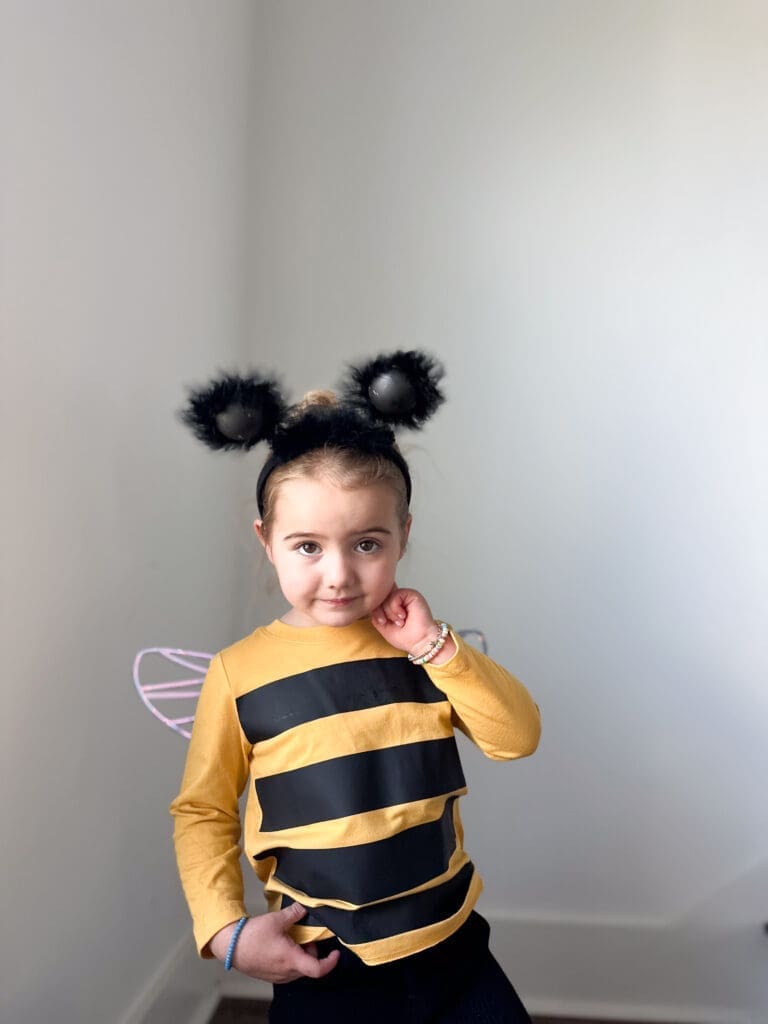
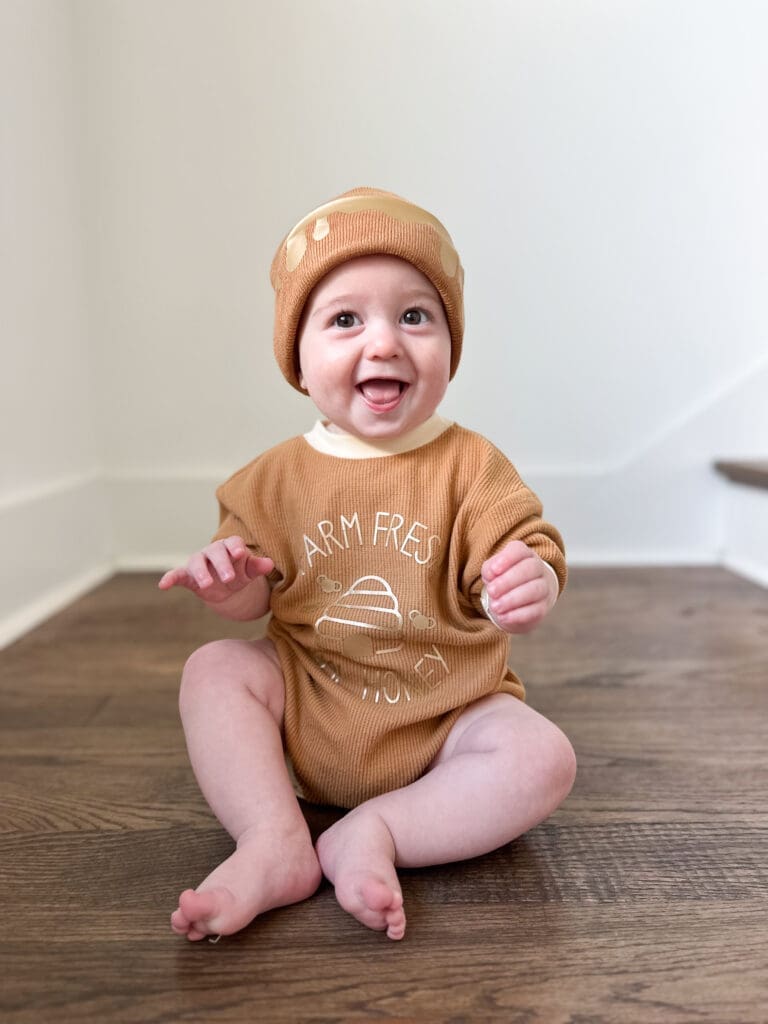
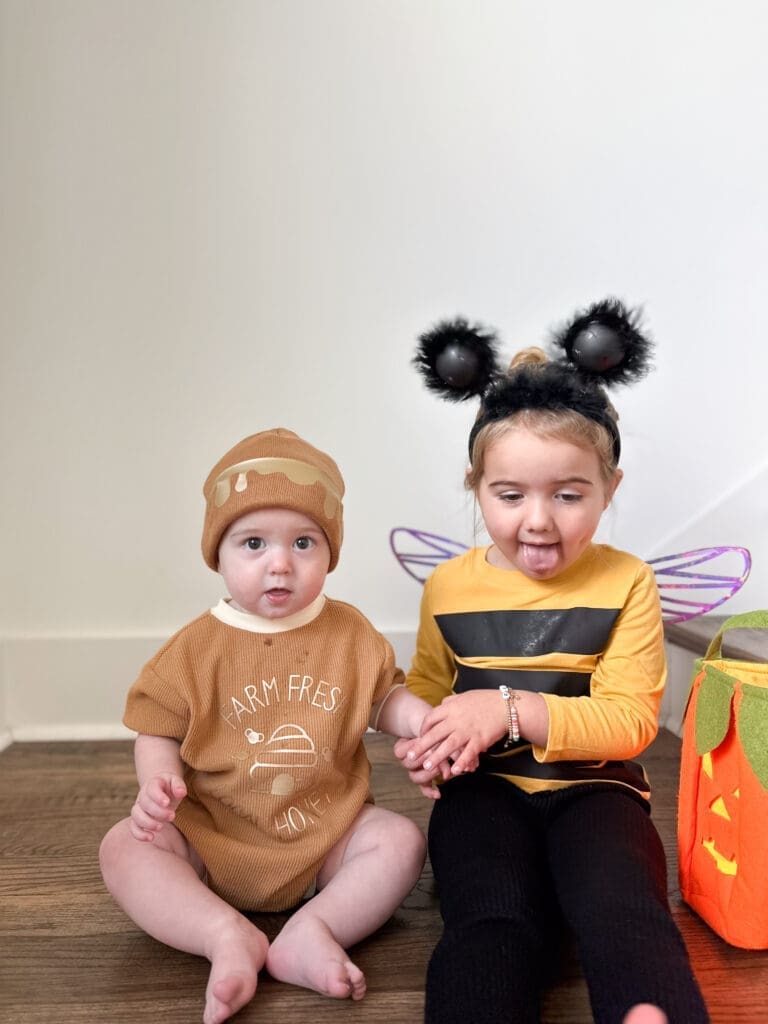
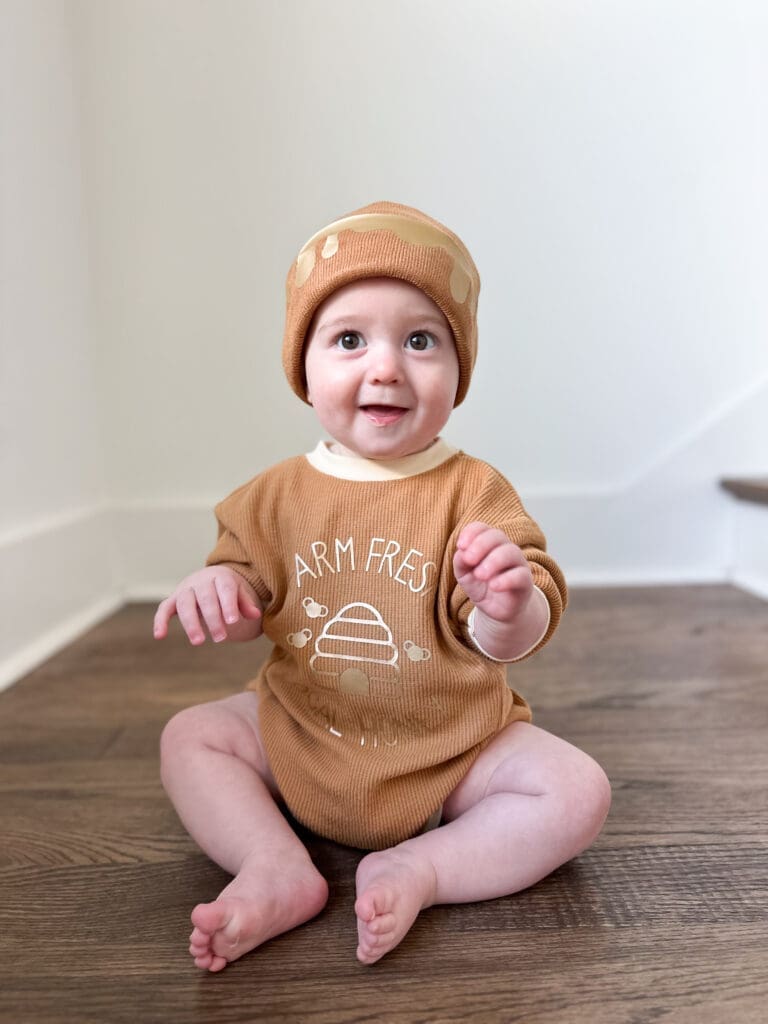
For the last five weeks, my three-year-old daughter has been telling me she wants to be a bumble bee for Halloween. I also have a nine-month-old son and thought it would be so cute to come up with a sibling Halloween costume to coordinate — and, honestly, what could be cuter than a bee and a honey jar?!
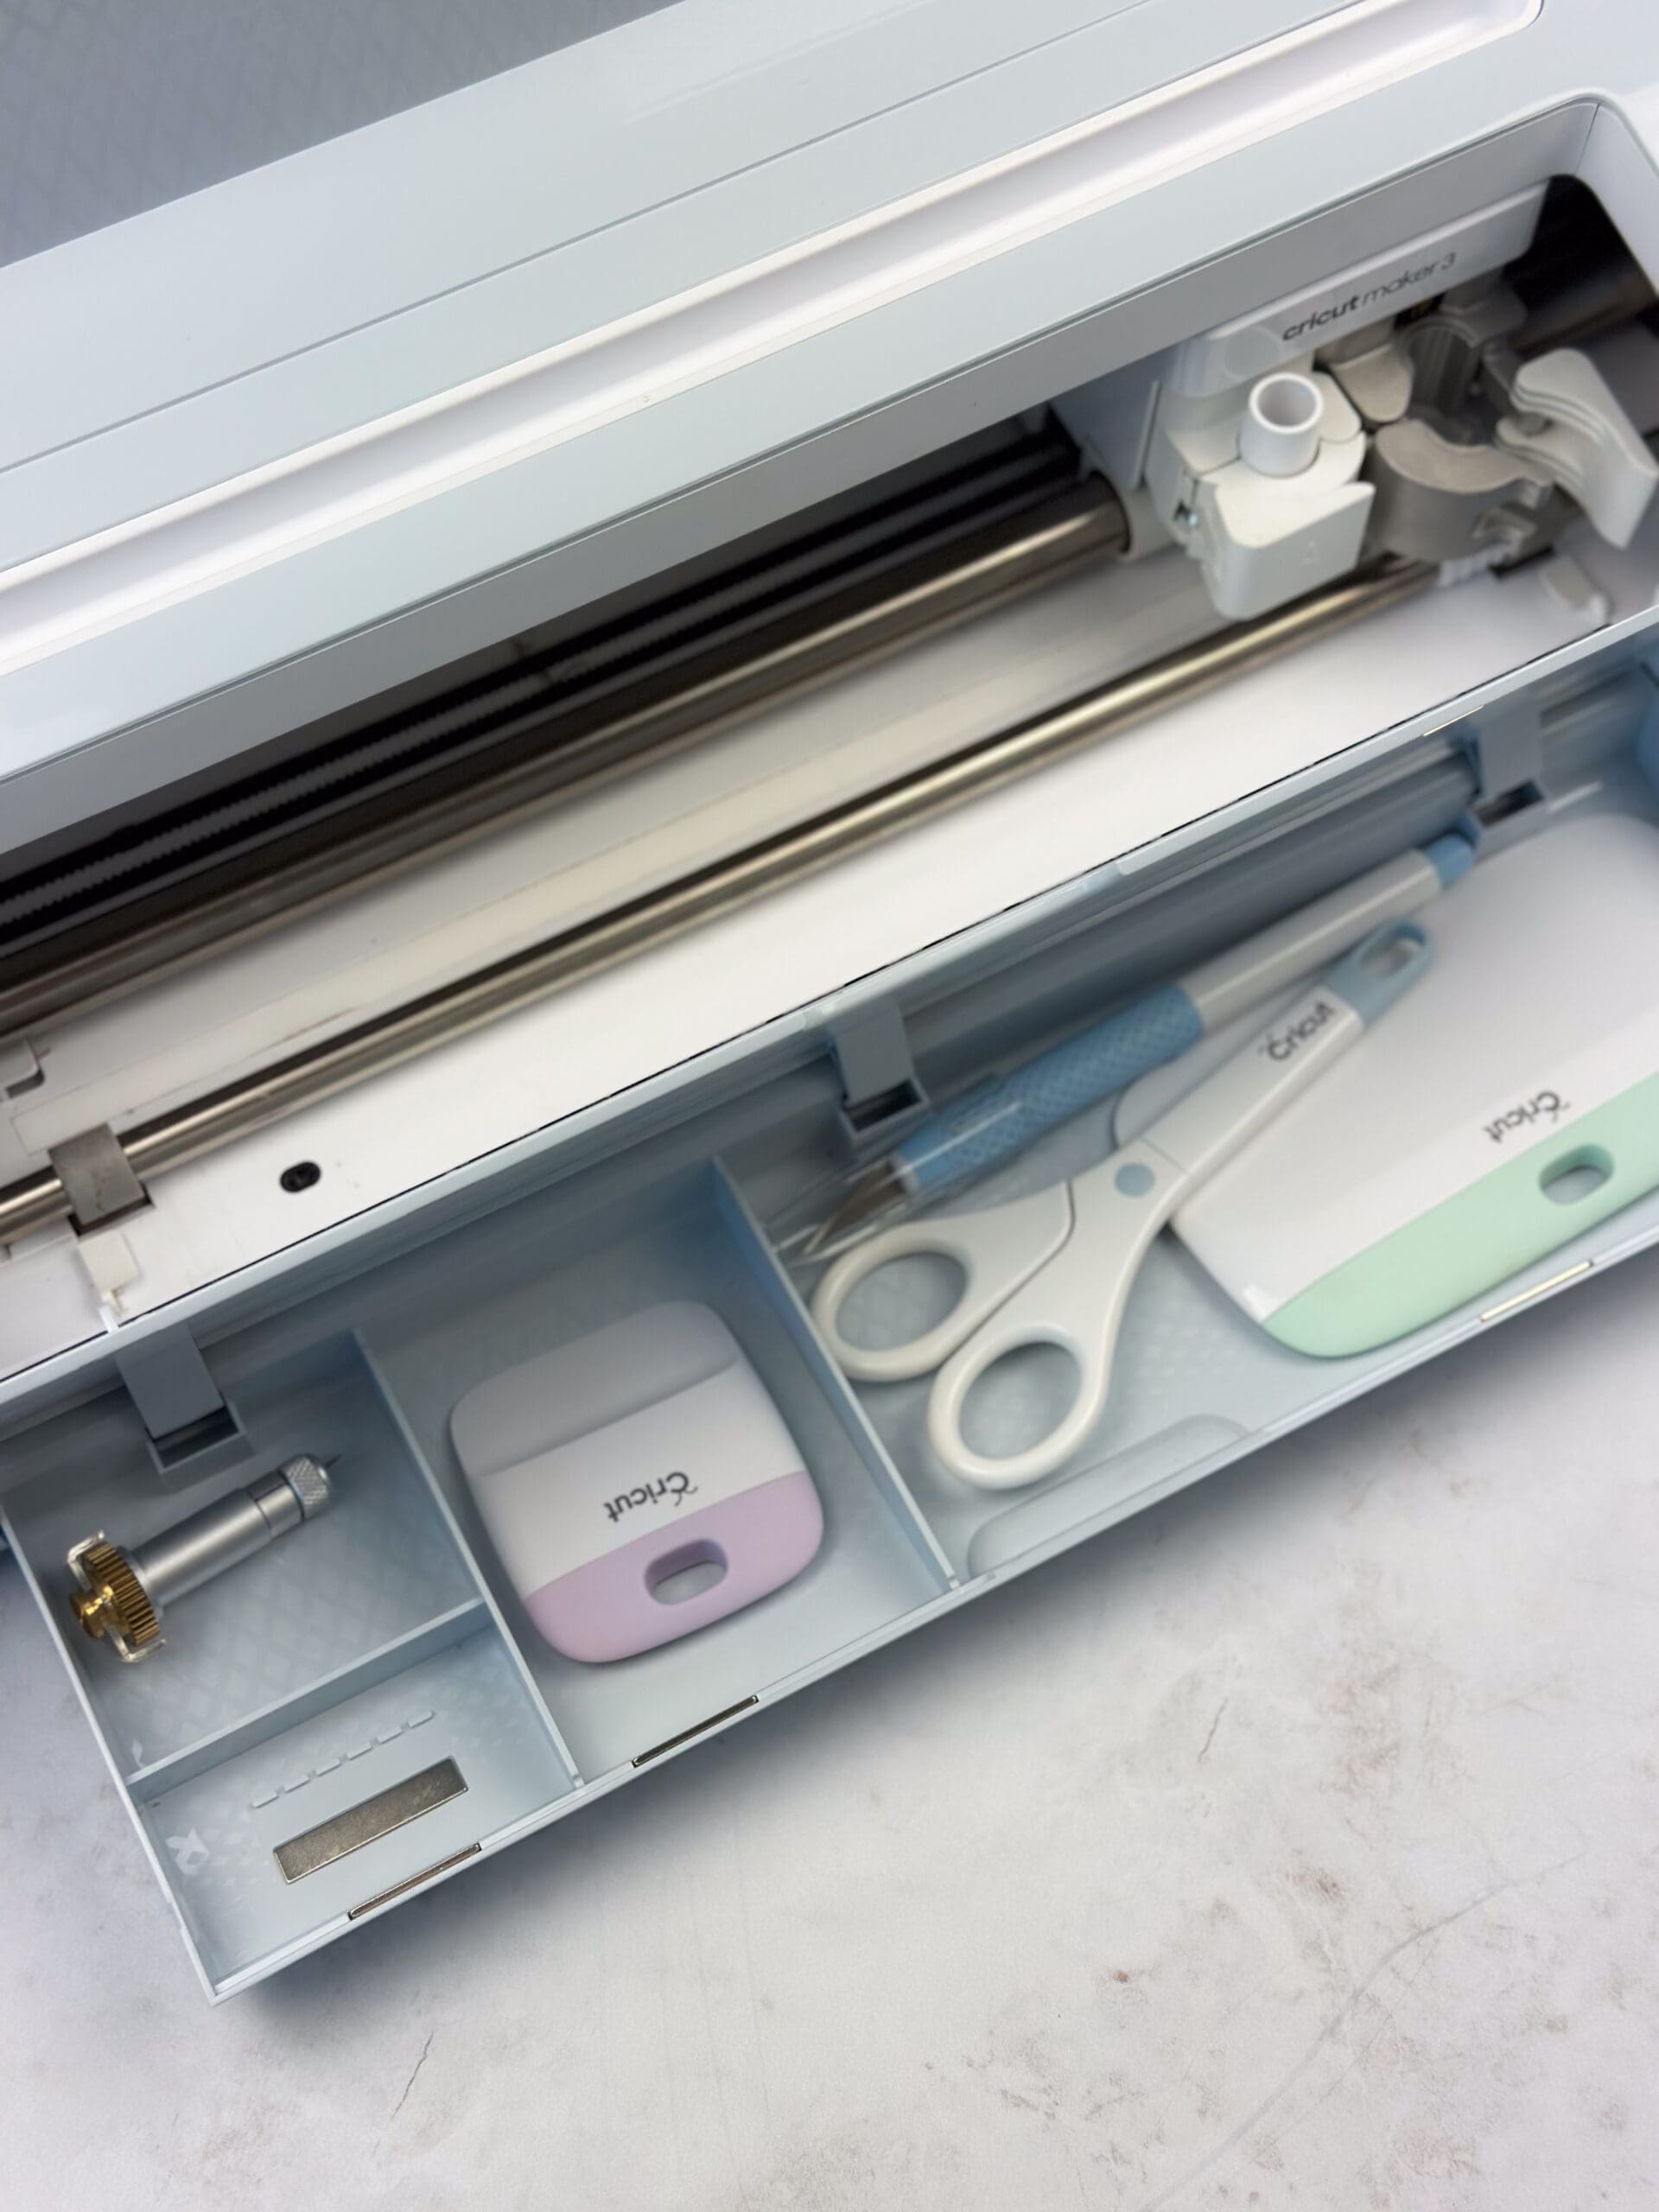
After perusing a few shops and Amazon.com, I wasn’t finding anything that perfectly fit my vision. Thankfully, I am the proud owner of a Cricut Maker 3 so I decided to take matters into my own hands and DIY this project! I’m happy to report this is a quick, easy, and completely DIY-able costume for all of you fellow “wanna-bees” and last-minute costume makers out there. Follow along to replicate this adorable bee and honey sibling halloween costume with your own Cricut!
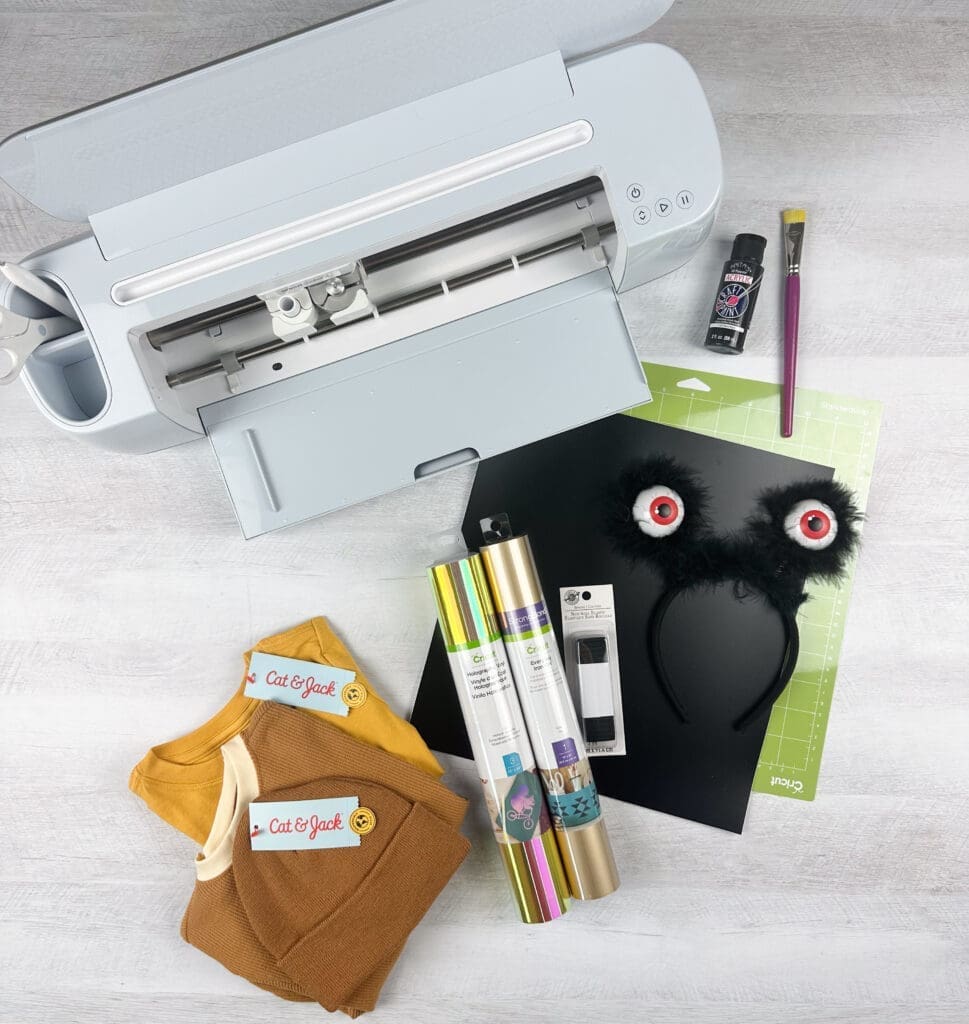
Bee + Honey Jar Halloween Costume Supplies:
- Cricut Maker 3
- Standard Grip Cricut Mat
- Cricut Weeding tool & scissors
- Black Iron On Vinyl
- Holographic standard vinyl
- Gold or yellow vinyl
- Headband and black pipe cleaners OR alternative antennae headband as shown
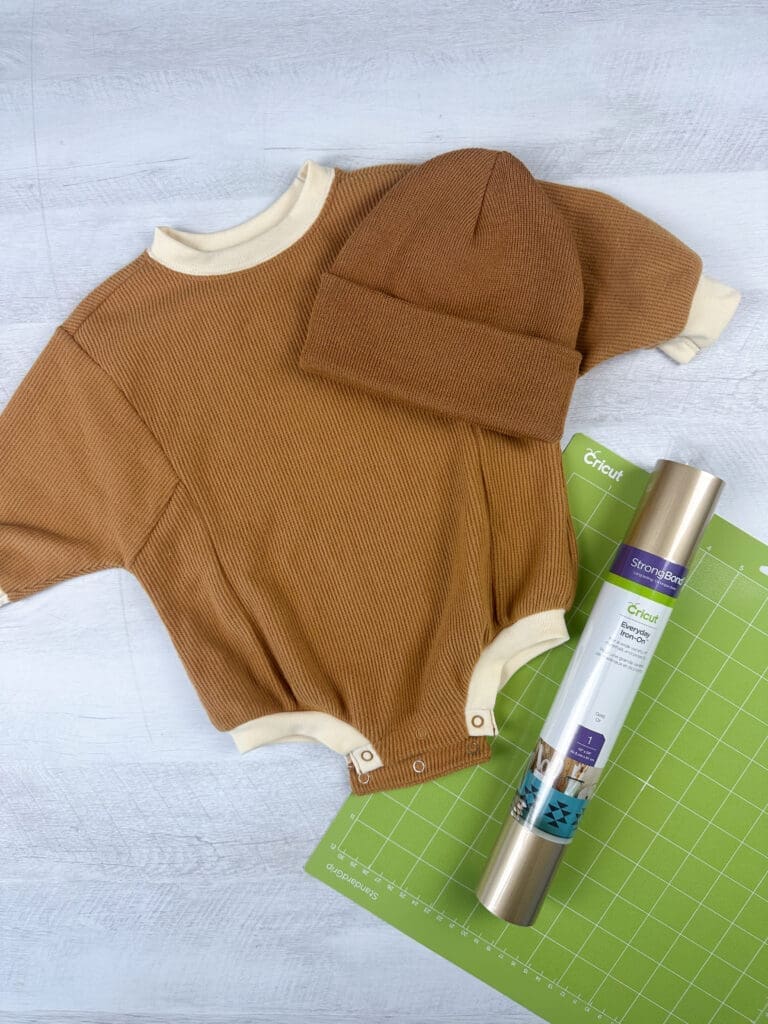
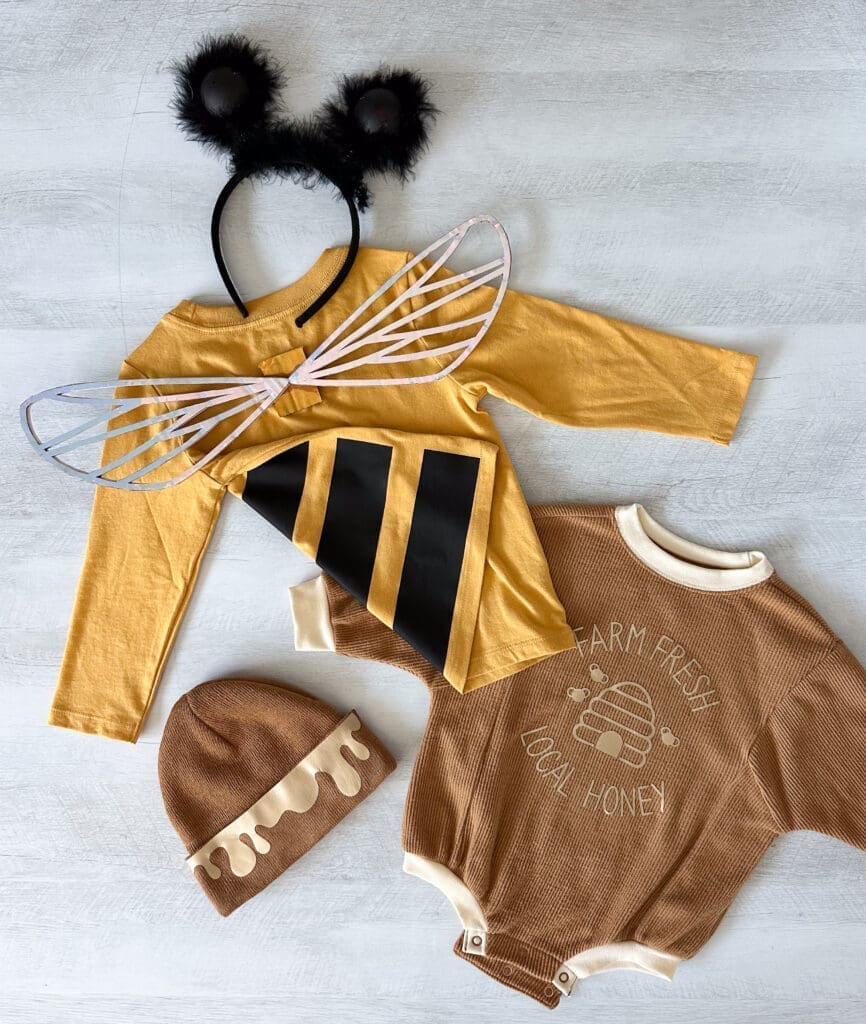
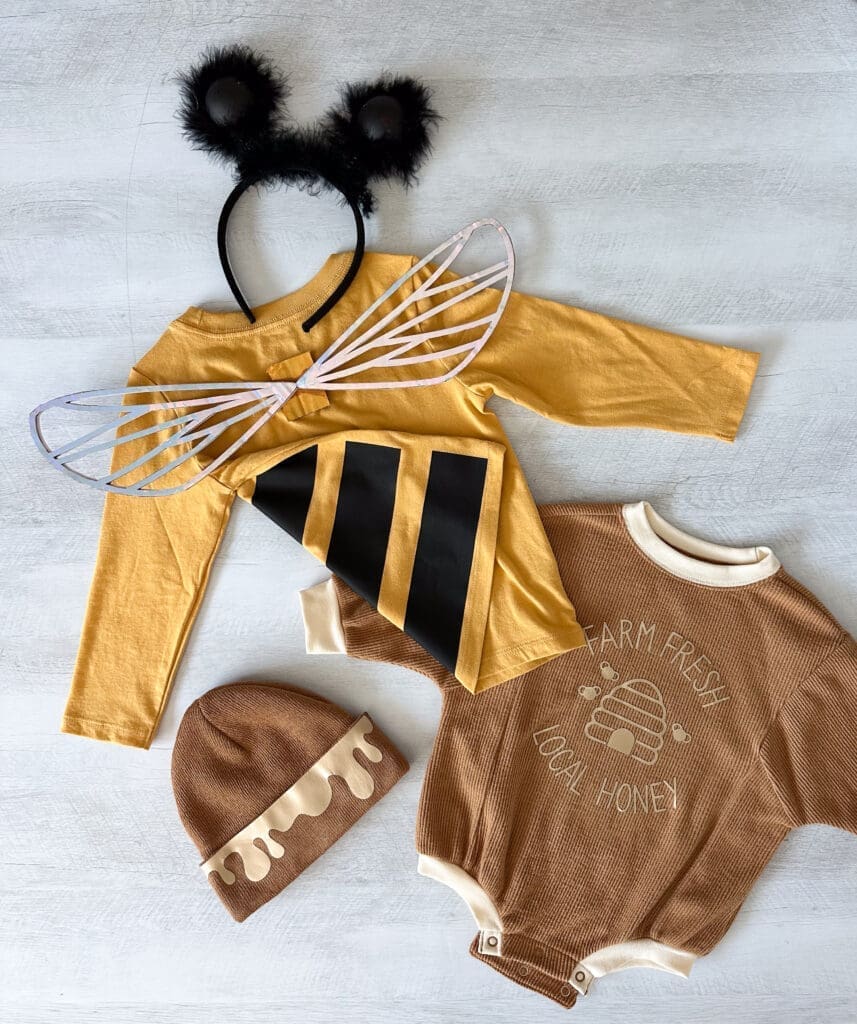
- Base clothing (I used a yellow long sleeve tee for my toddler and a honey-colored onesie and hat for the baby)
- Cardboard
Please note: As an Amazon Associate, we earn a small commission on qualifying purchases.
Step 1: Making the Bee Shirt
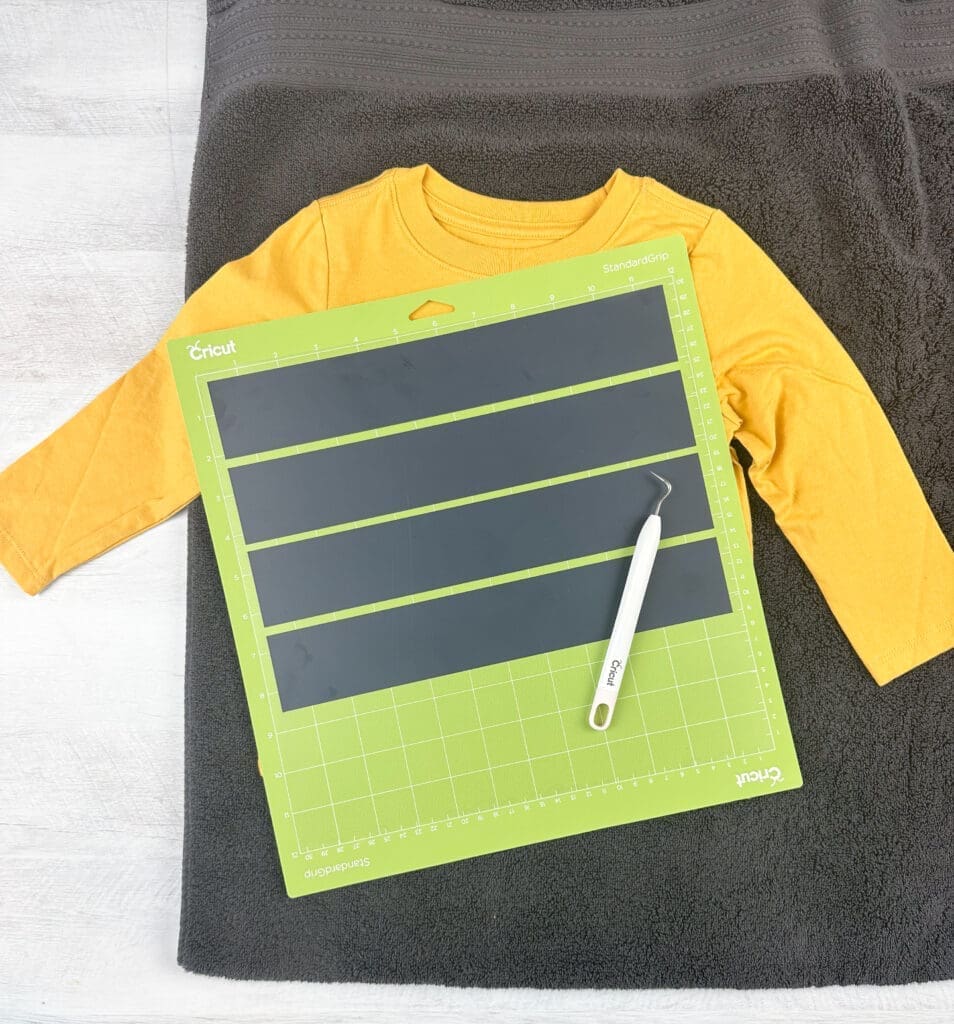
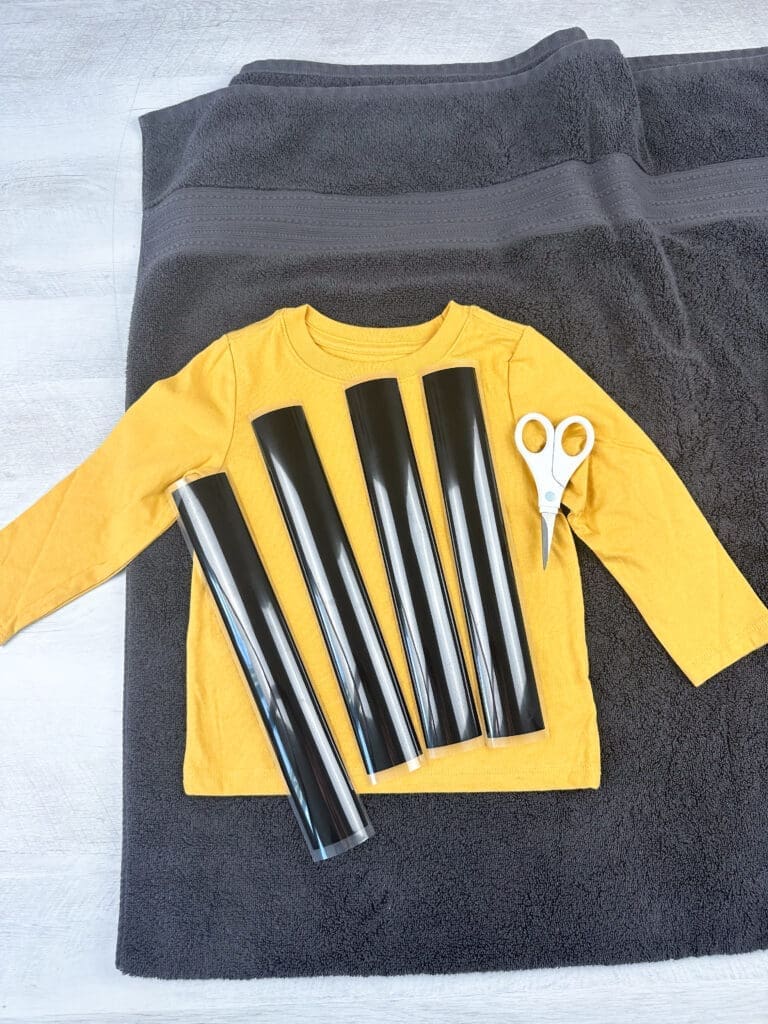
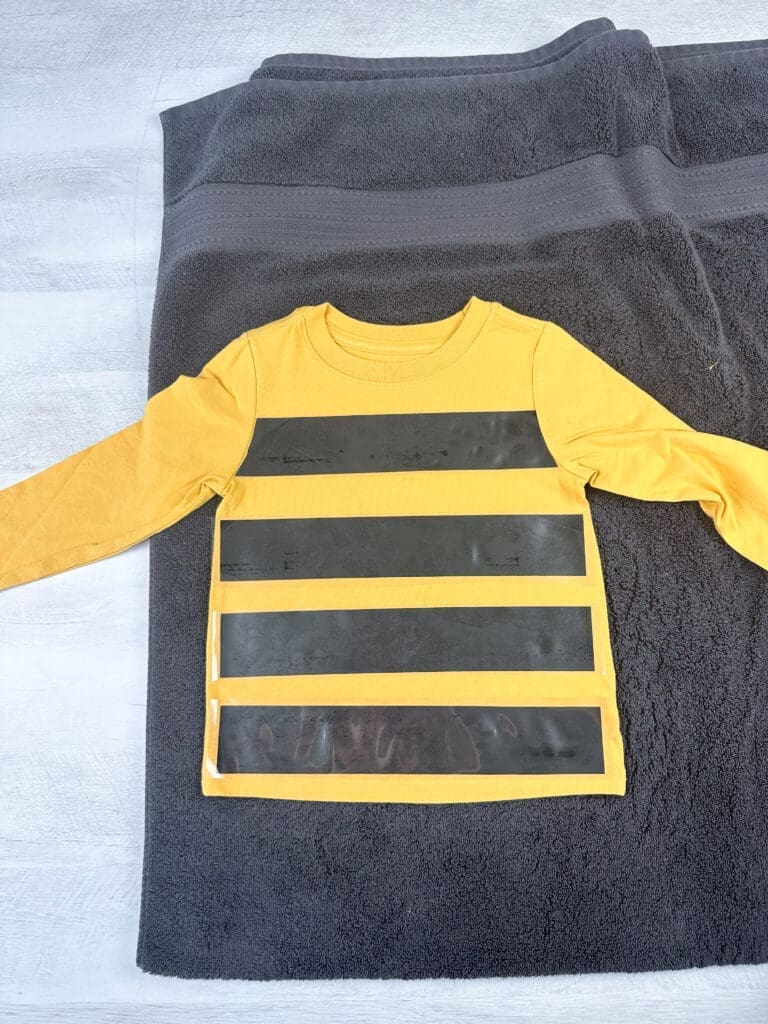
Can you probably buy a yellow and black striped shirt? Yes. Could you just make one yourself? Also yes. I couldn’t find a striped shirt so I picked up this yellow one from Target and added my own black vinyl stripes.
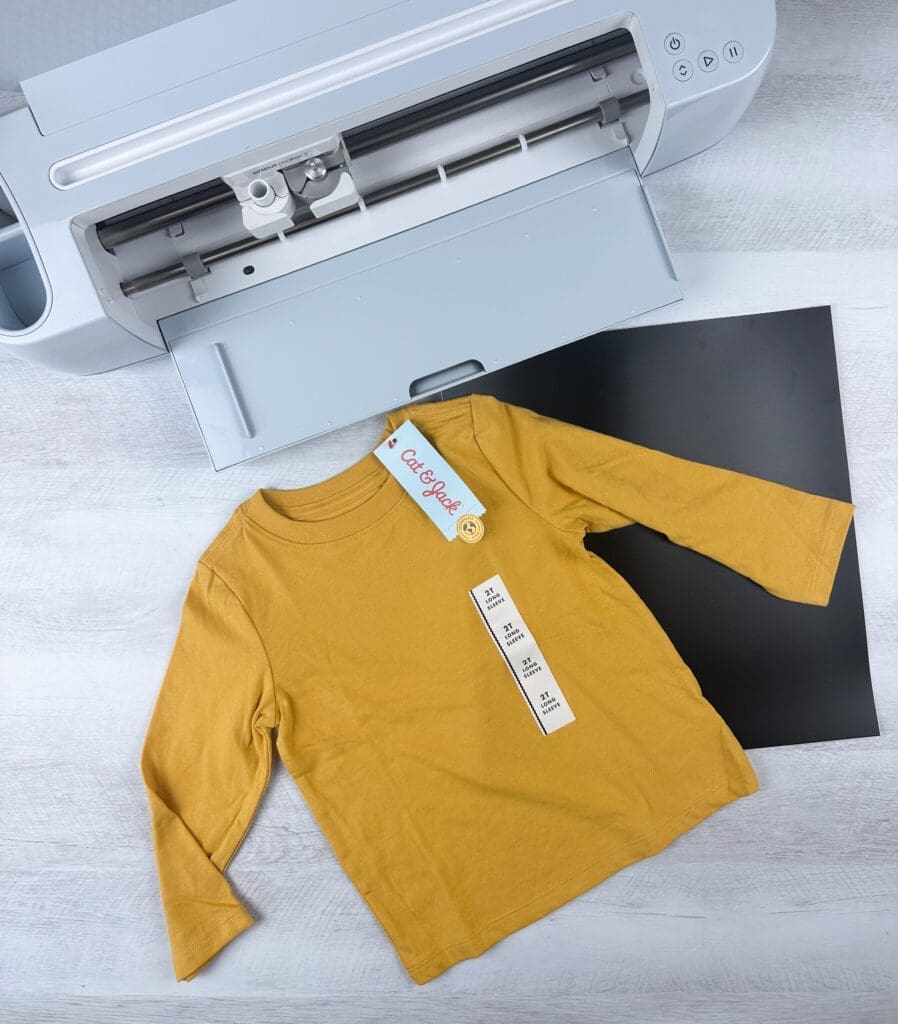

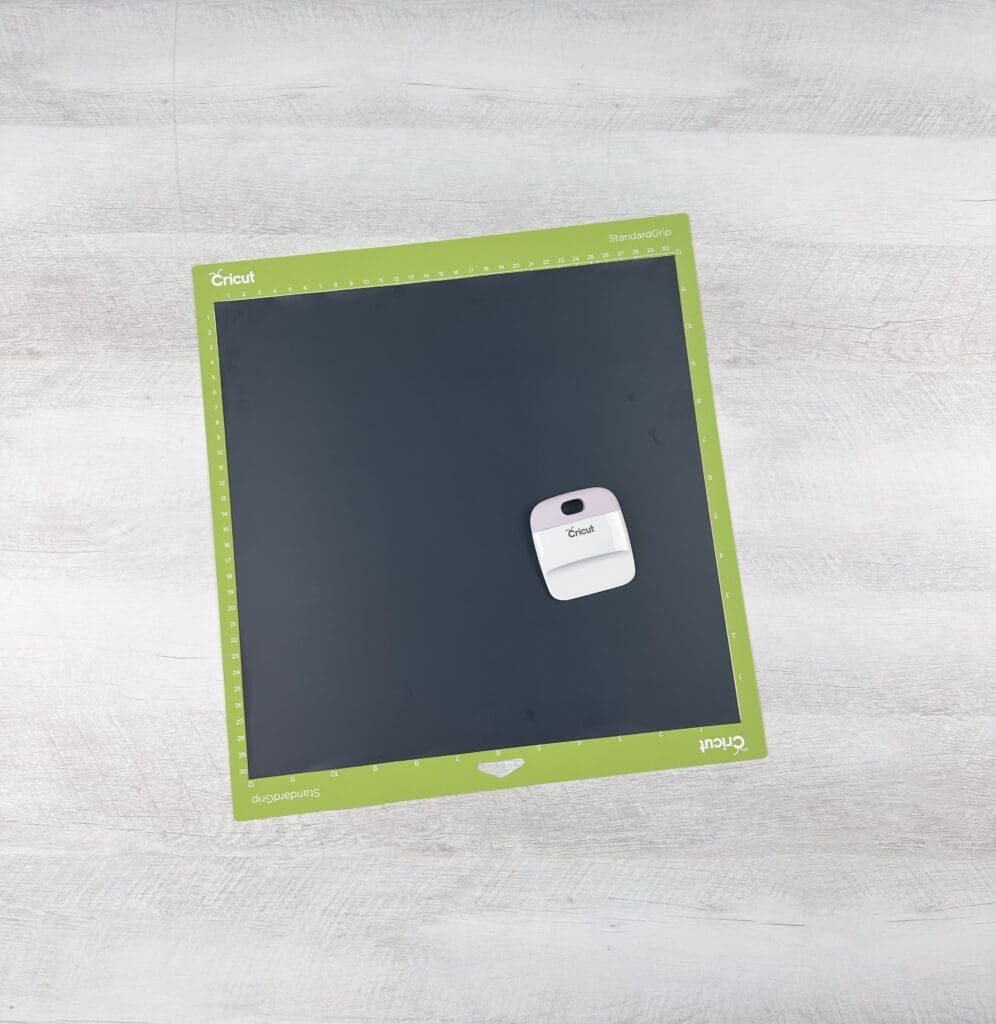
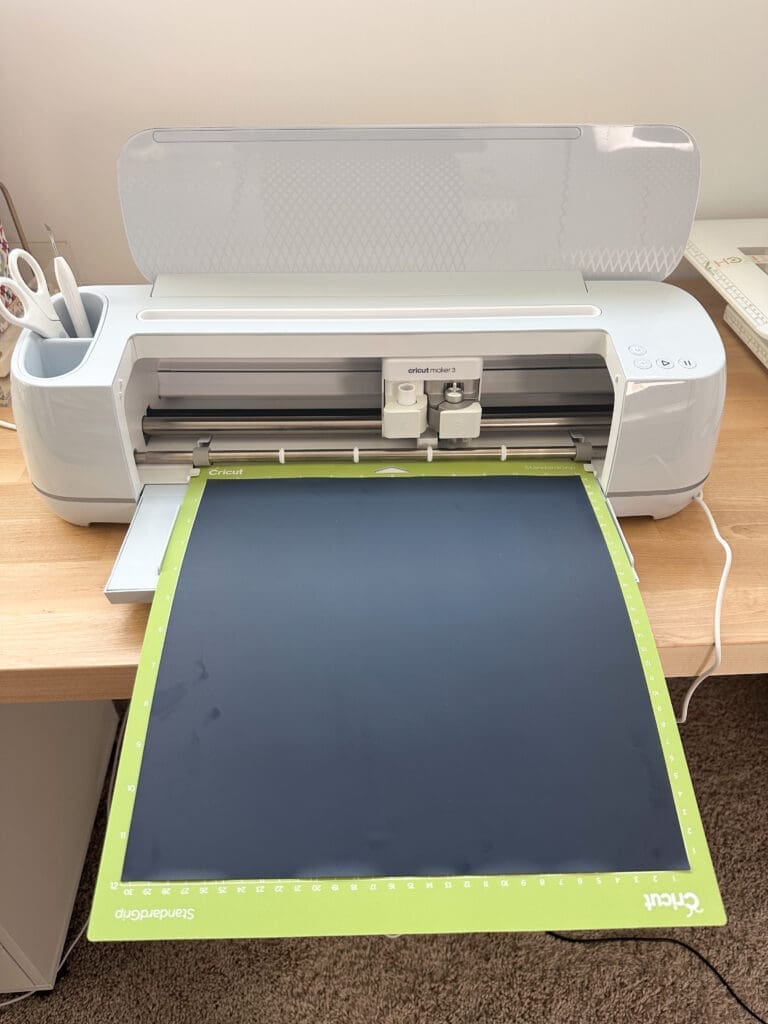
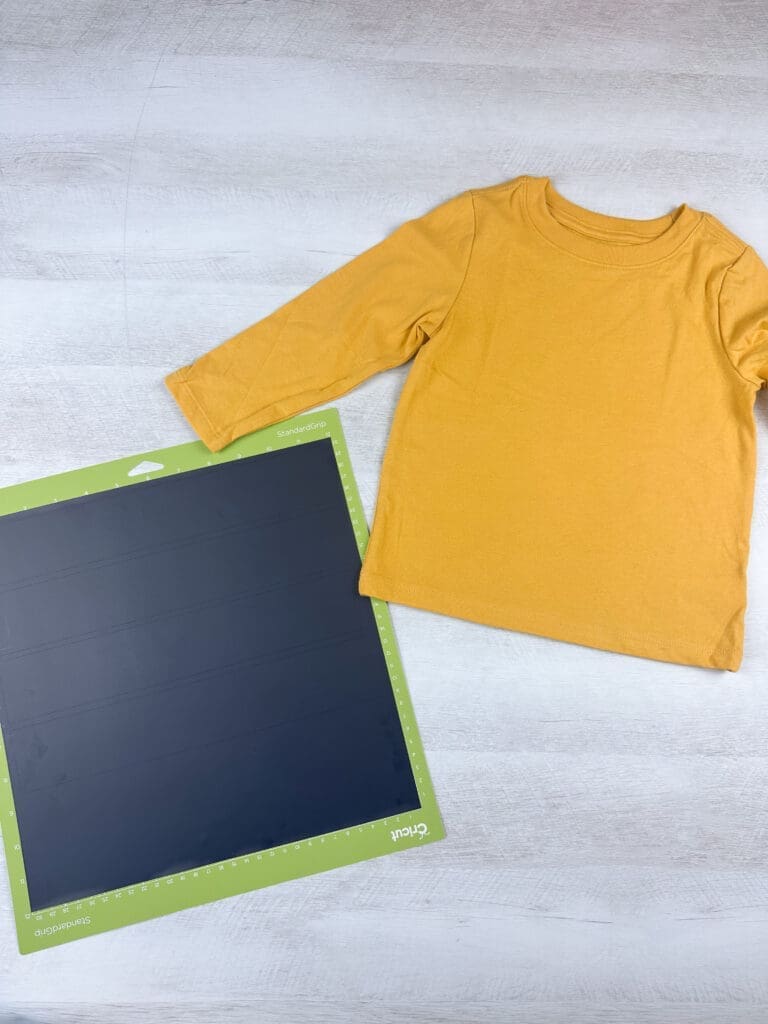
I measured the torso and cut out thick black lines that would fit the width of the yellow shirt. Follow the Cricut pressing directions to iron-on. I trimmed my top stripe around the sleeve seams so it would lay nice and flat.
Step 2: The Antennae
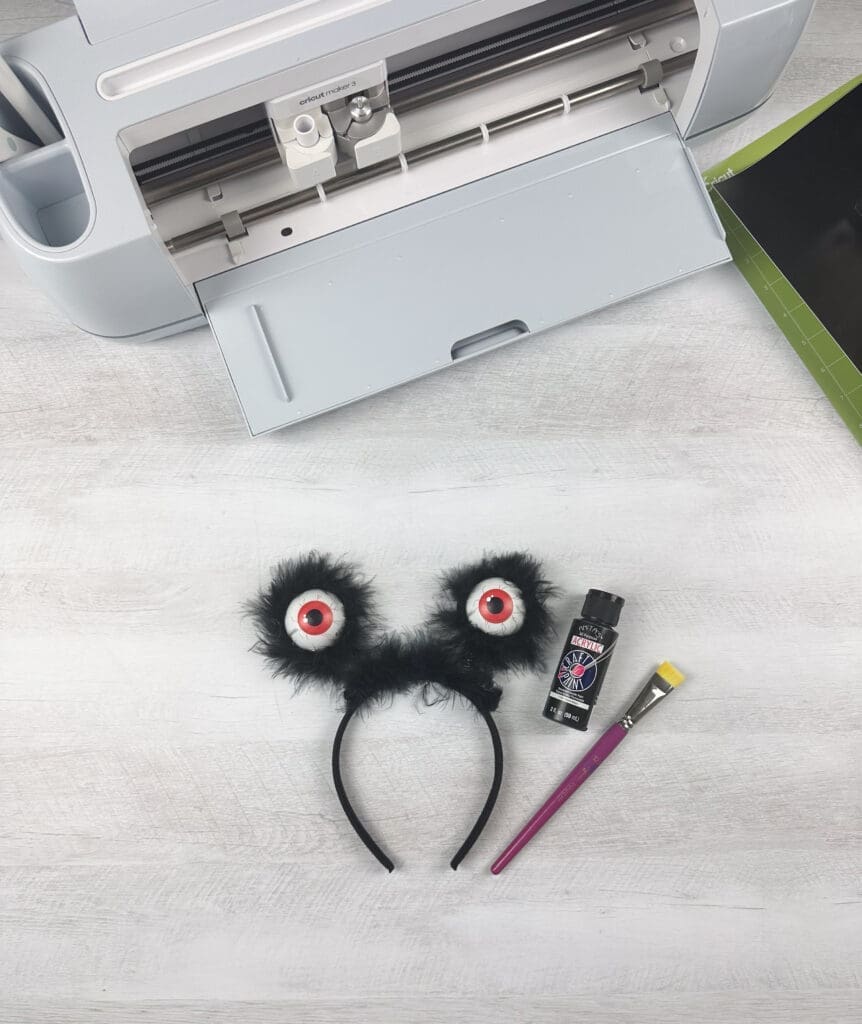
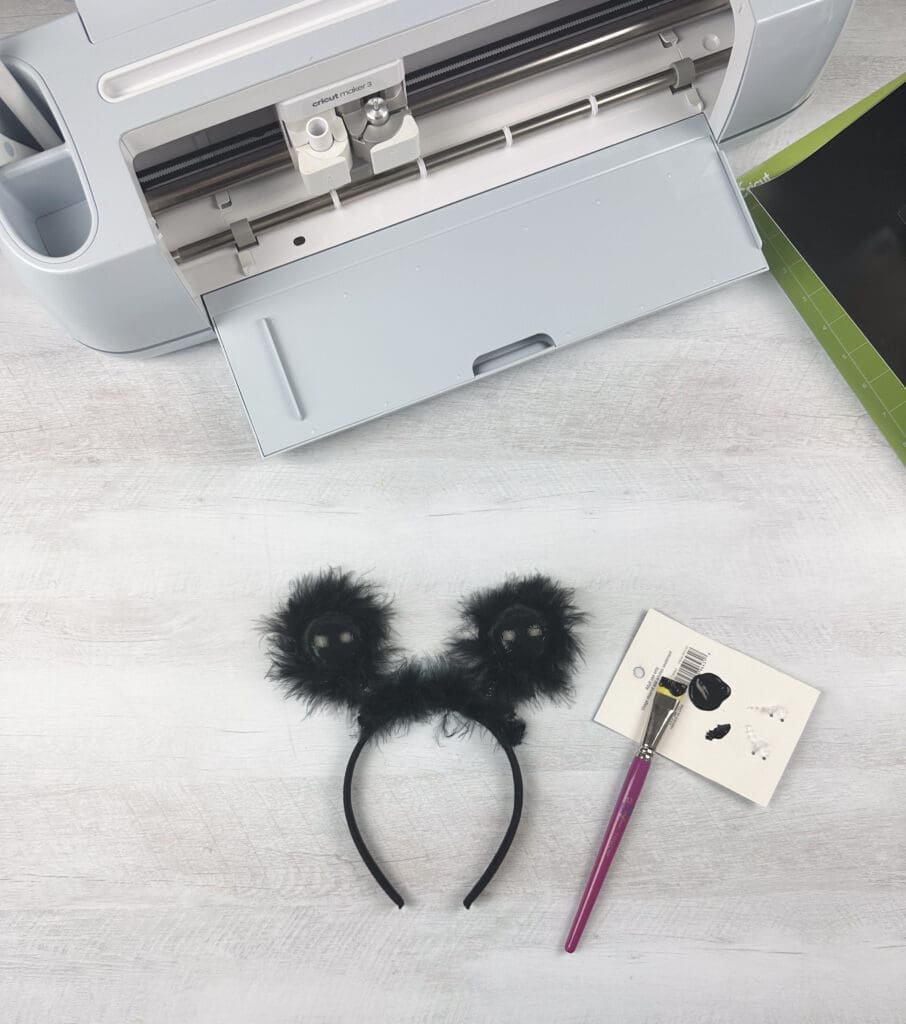
Every bee needs antennae! Originally, I planned to use a plain black headband with black pipe cleaners curled at the top. That will totally work but when I was at the store I found this Halloween costume headband that was perfect! I just painted the eyes black and was done!
Step 3: The Irridescent Bee Wings
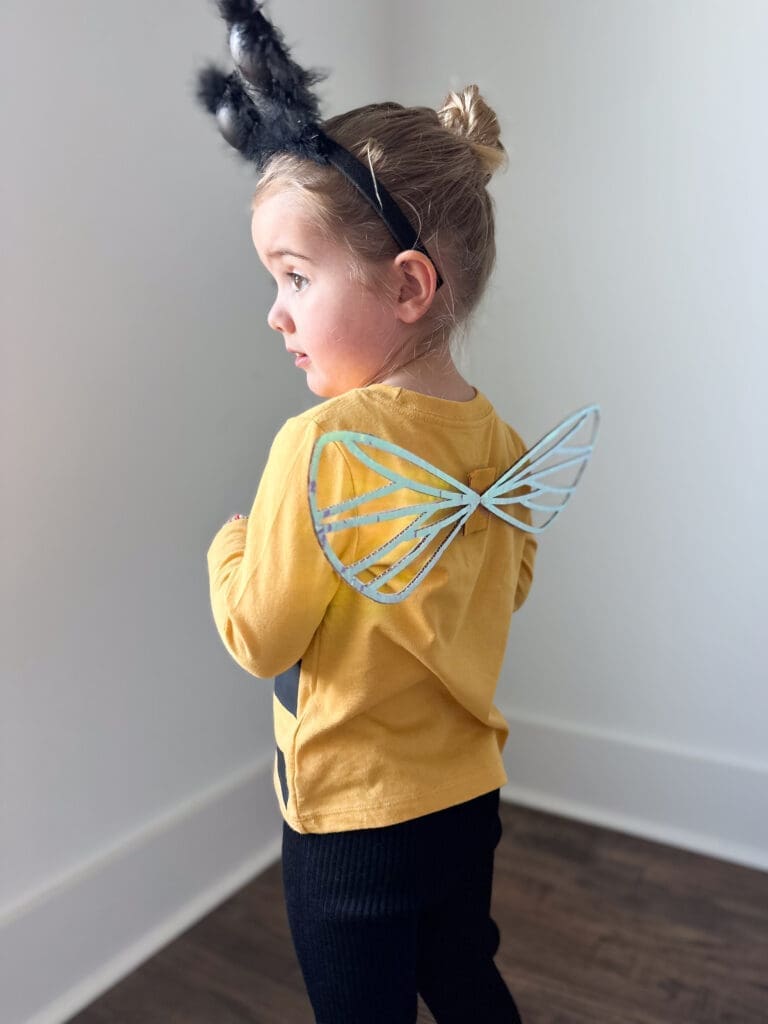
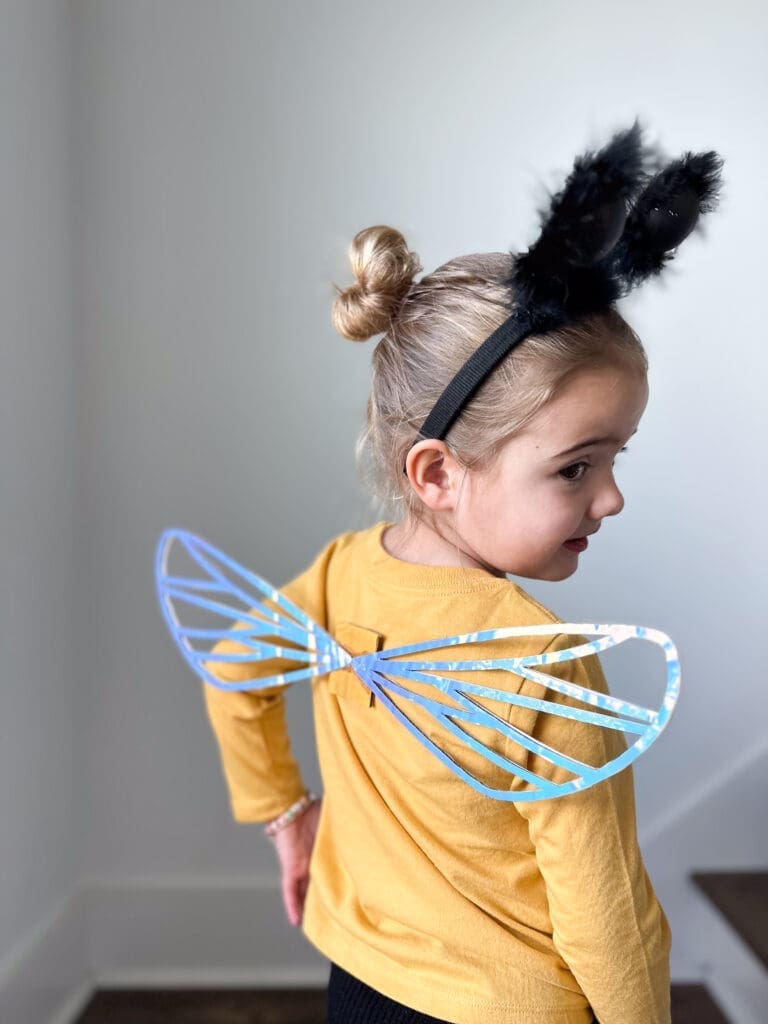
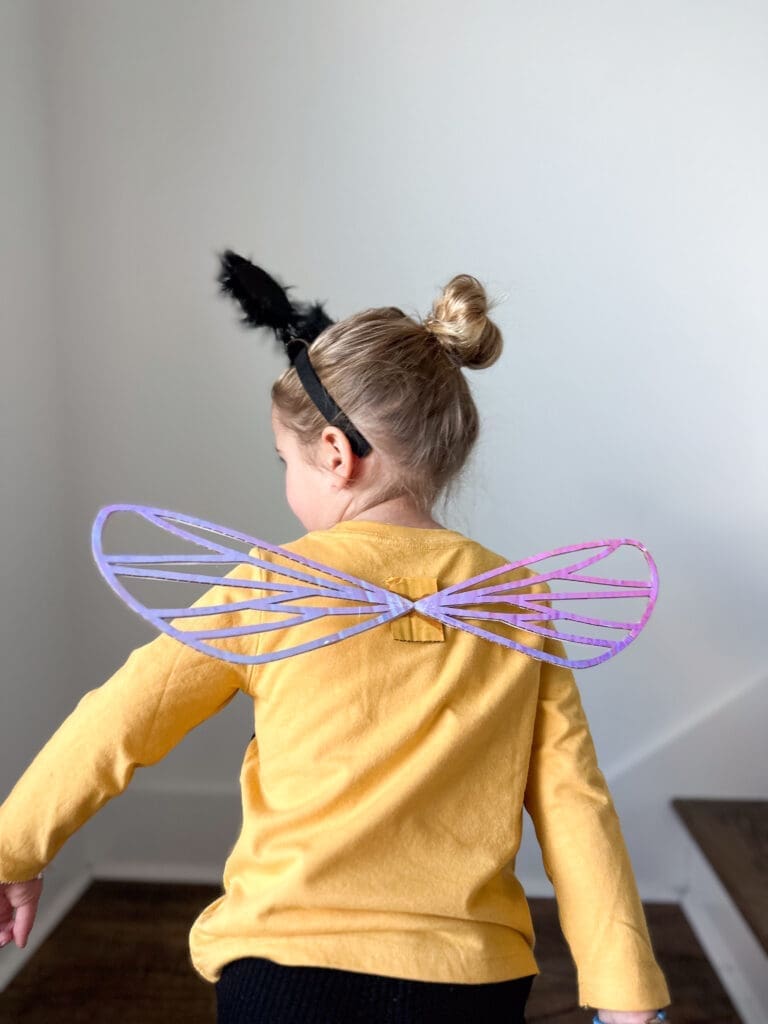
The bee wings took the most imagination. I knew I wanted them to be very shiny and wing-like but also not too delicate (because, well, my bee also happens to be a busy three-year-old!). Here is how I made my wings.
First, I measured the distance from the middle of my toddler’s back to as far out as I wanted the wing to be. Since I know she’ll be running around, I wanted them fairly close to her body. They ended up about 8.5″ long.
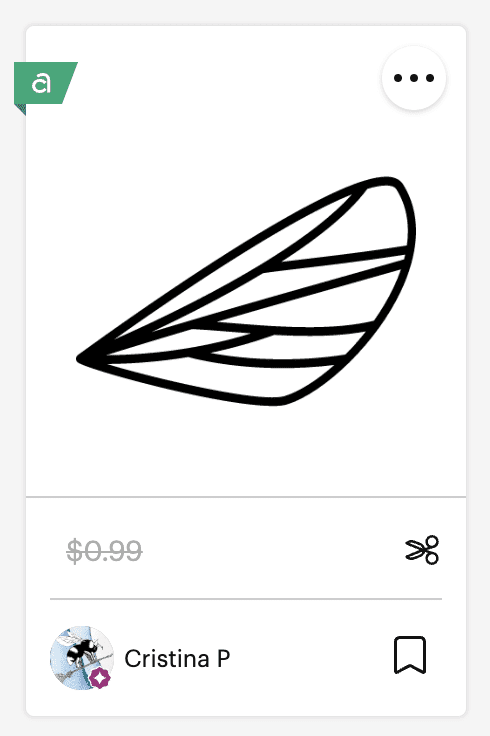
Then, I went into my Circut Design Space and searched the image gallery for the perfect insect wing. Here is the one I selected:
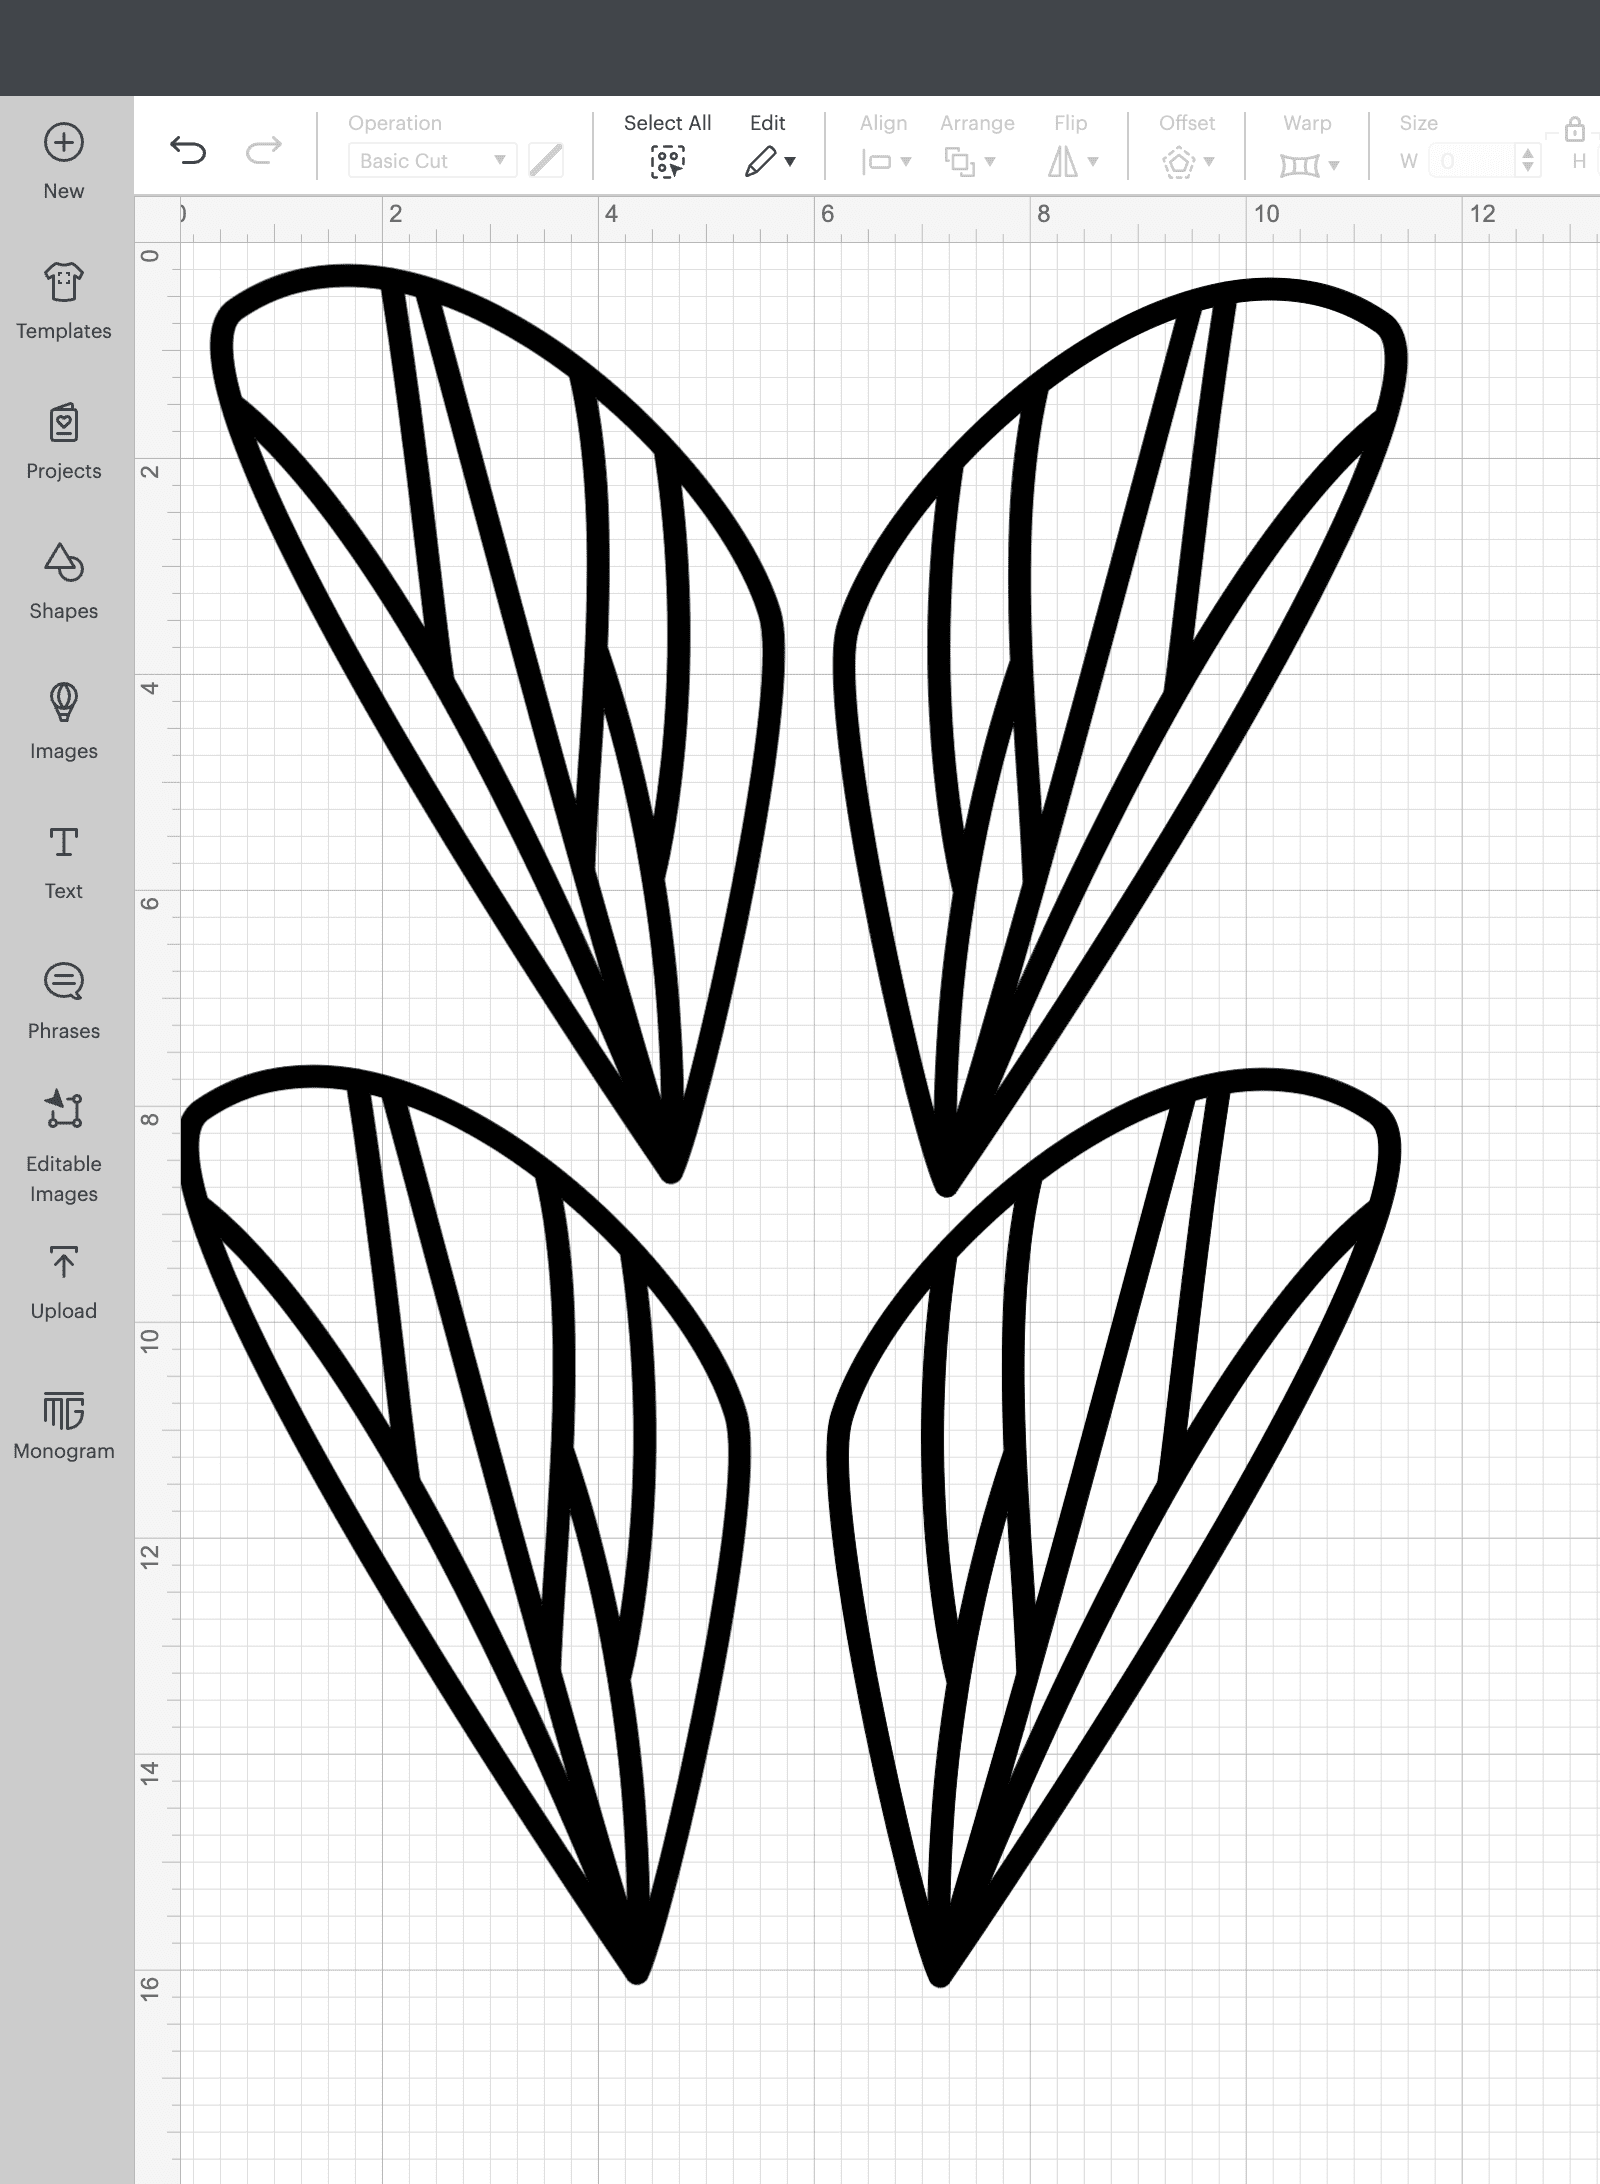
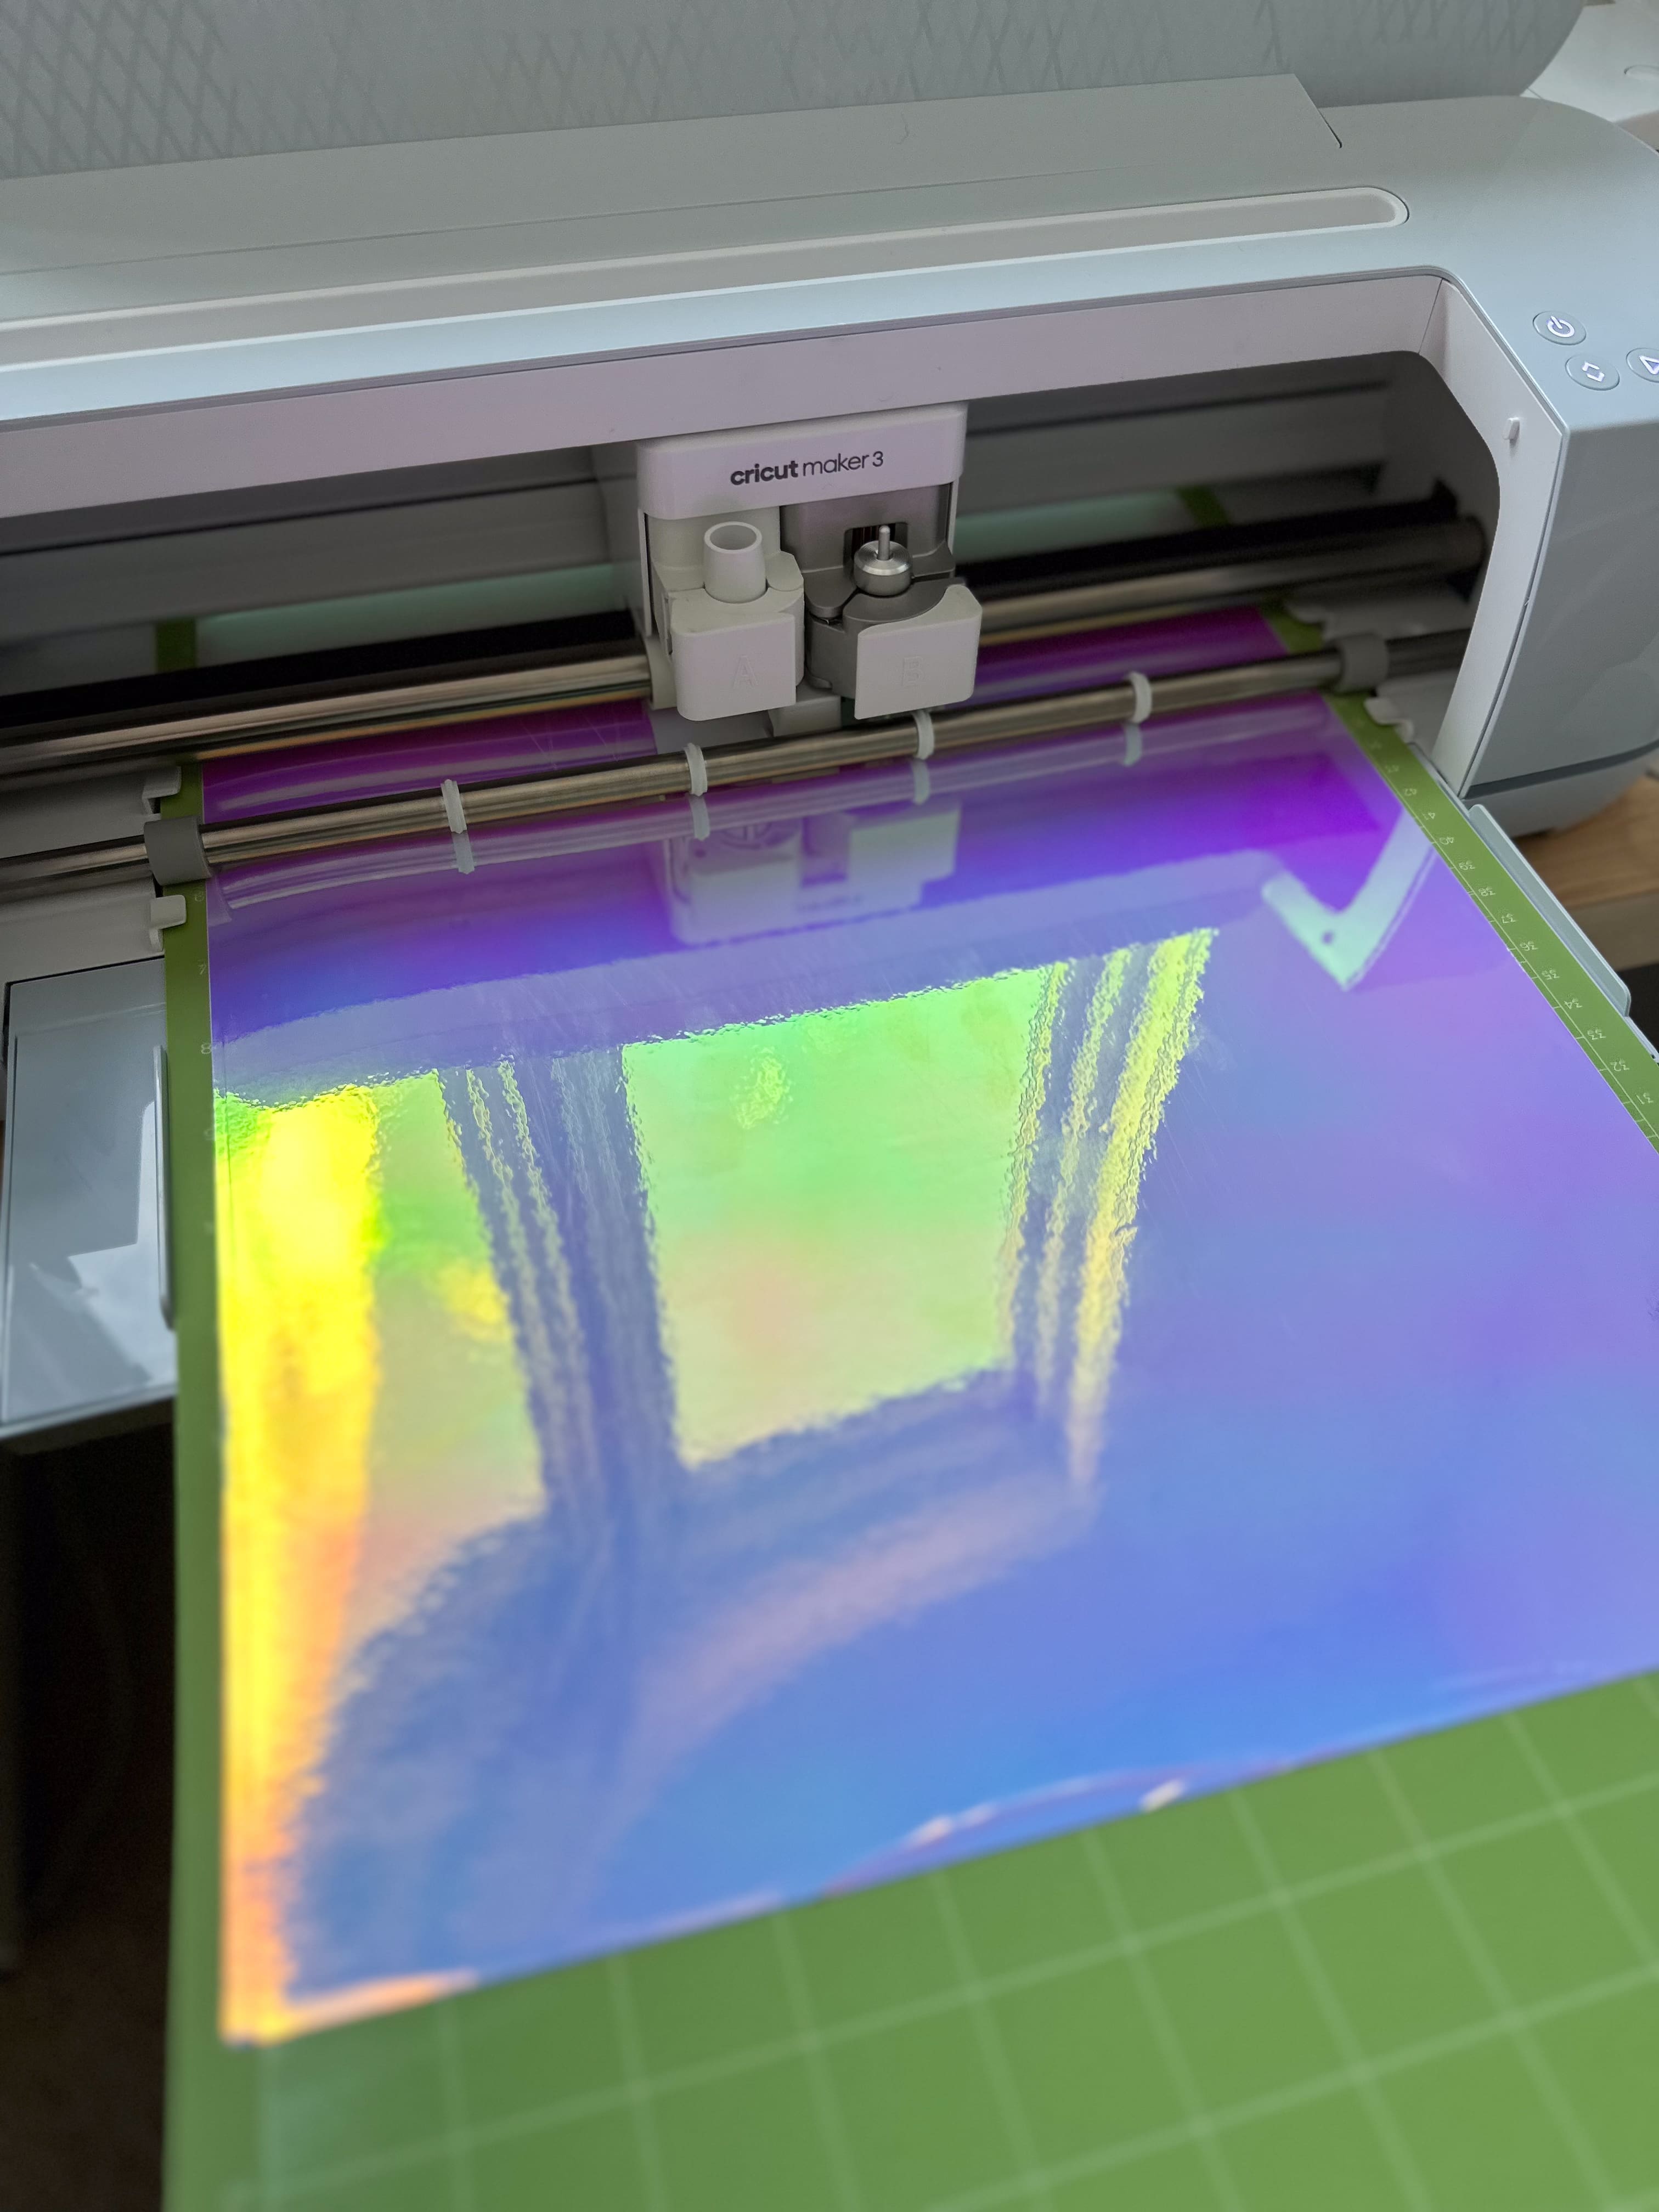
I decided to make them with shiny, holographic vinyl and I wanted them to be double sided. In my canvas, I arranged the wings like shown above and welded them together so that my machine would cut all the wings out at once, on the same piece of vinyl. I loaded the vinyl in the machine and let the Cricut do it’s magic.
When the wings were done, I weeded away the extra vinyl, cut around all the wings, and used a piece of cardboard to create some stability. You will adhere the vinyl in the shape you want your wings to be to one side of the vinyl. Use scissors to then cut around the entire shape. Then, use a sharp, small blade and a cutting knife to cut out the interior cardboard.
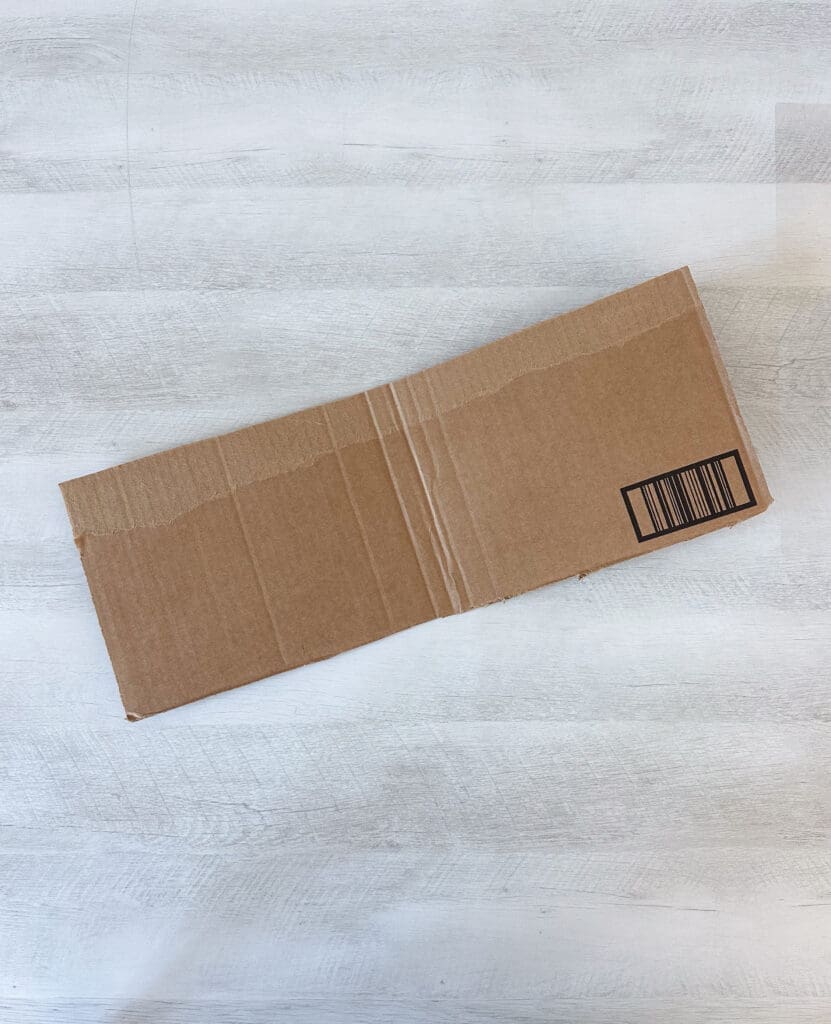
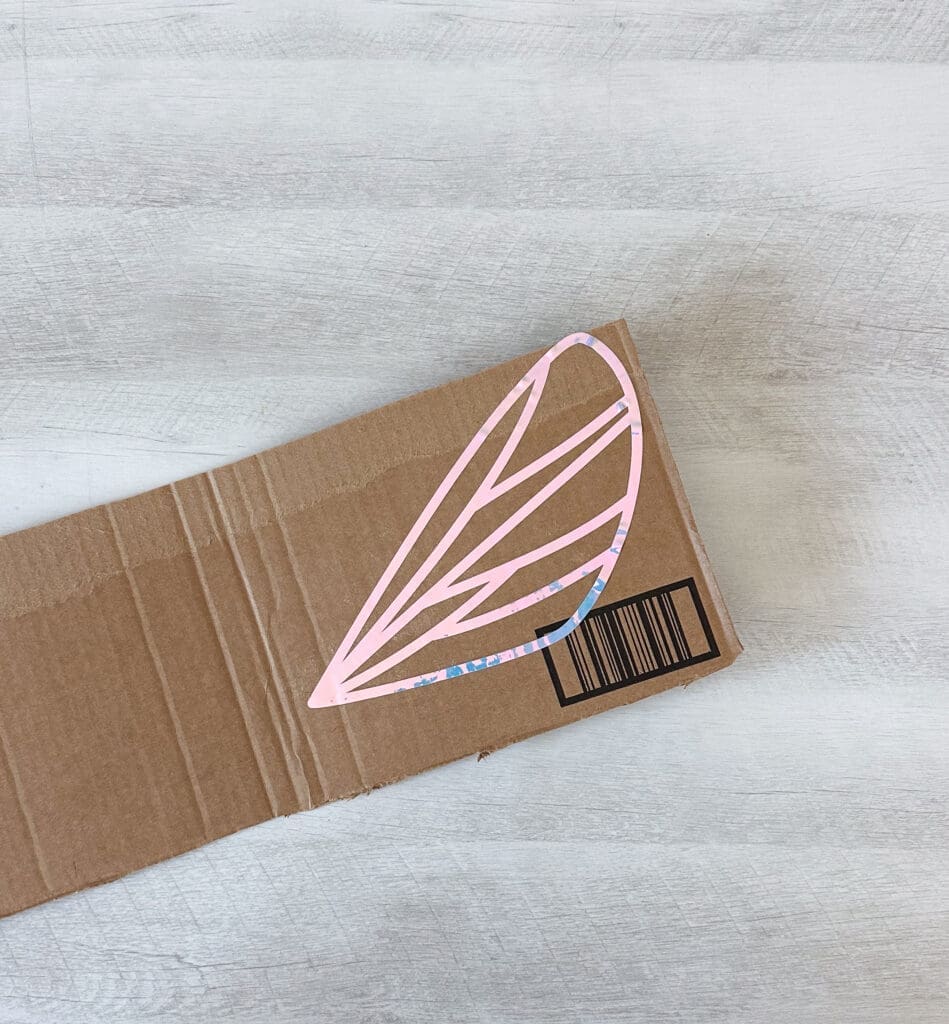
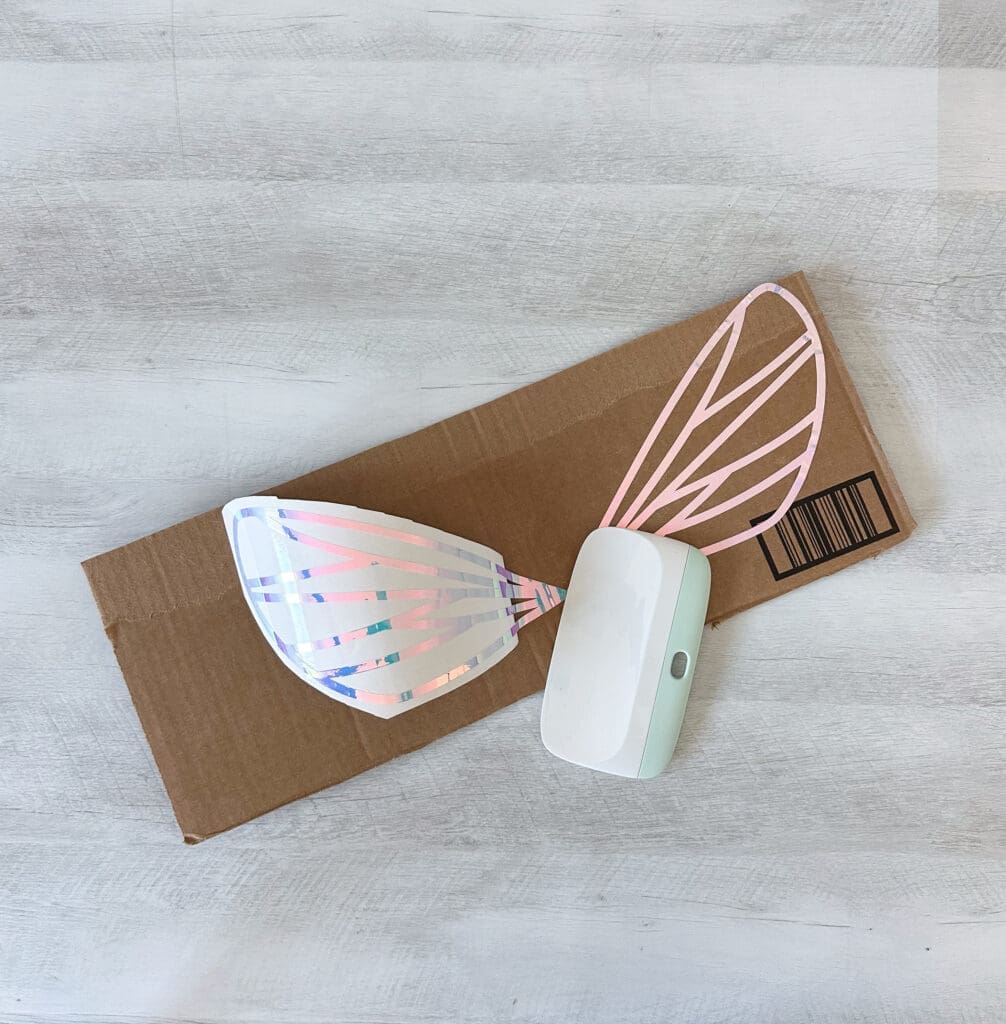
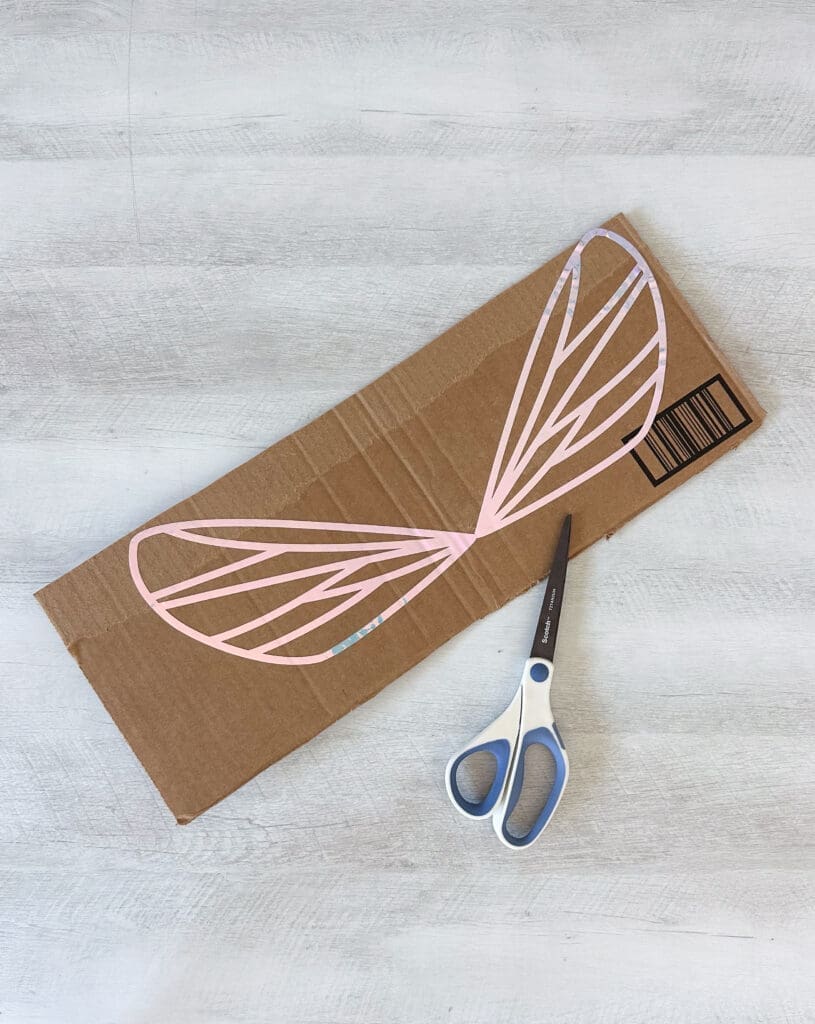

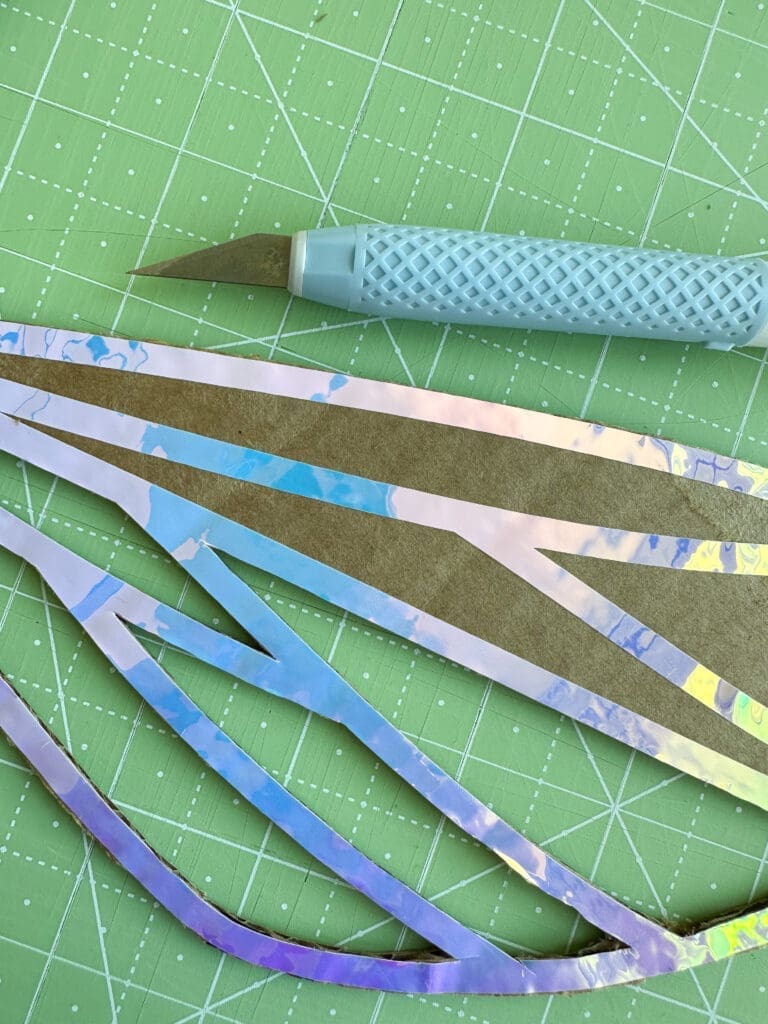
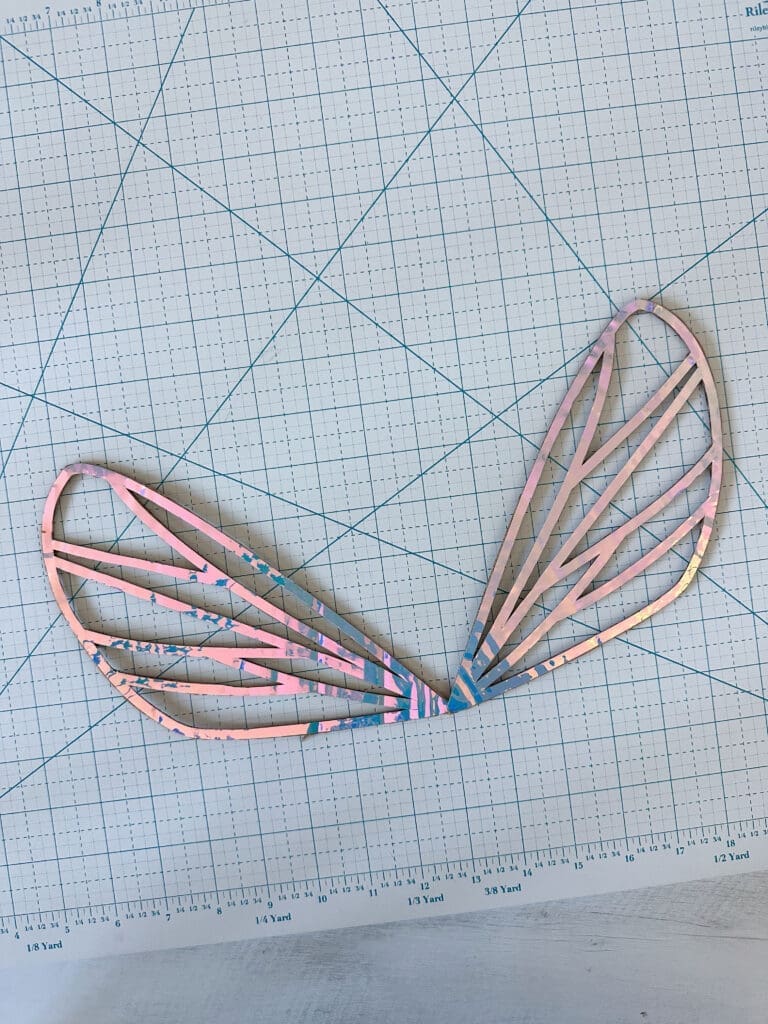
Then you have your wings! Now, Flip the wings over and carefully line up and stick on the other vinyl wings for the background.
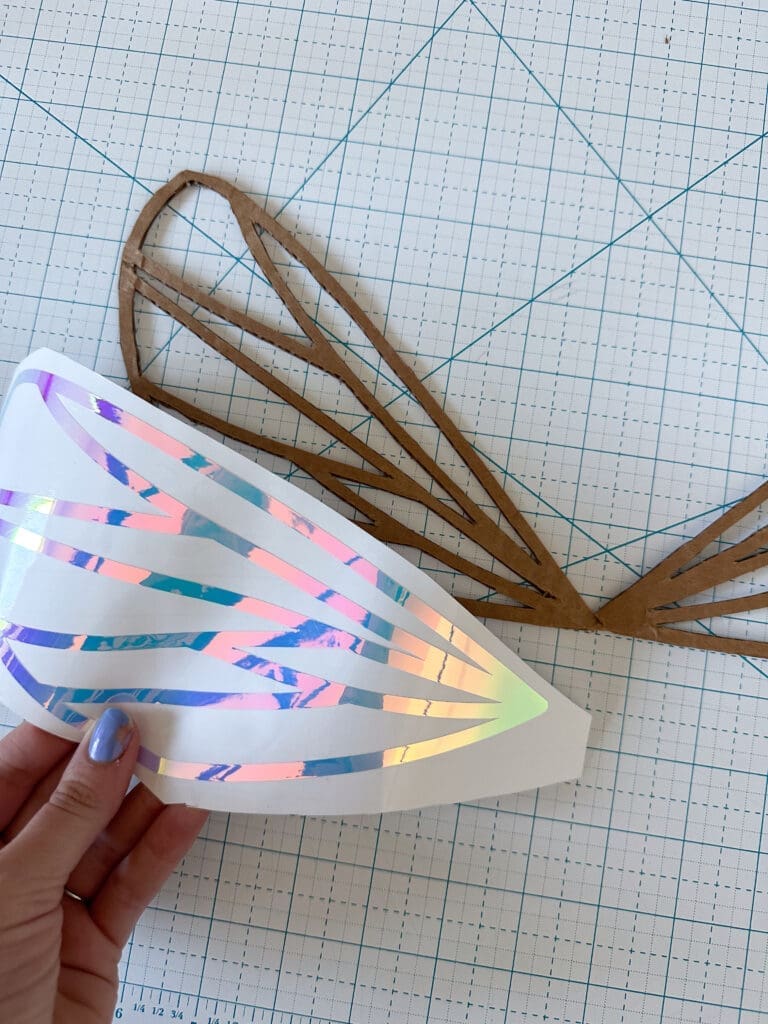
Now it’s time stabilize your wings and attach them to your bee tee. For this step, I decided to use another piece of cardboard as a center brace to hold the wings. I cut out a rectangular piece of cardboard and painted it the same color as the shirt. Then I used a strong craft glue to attach the wings.
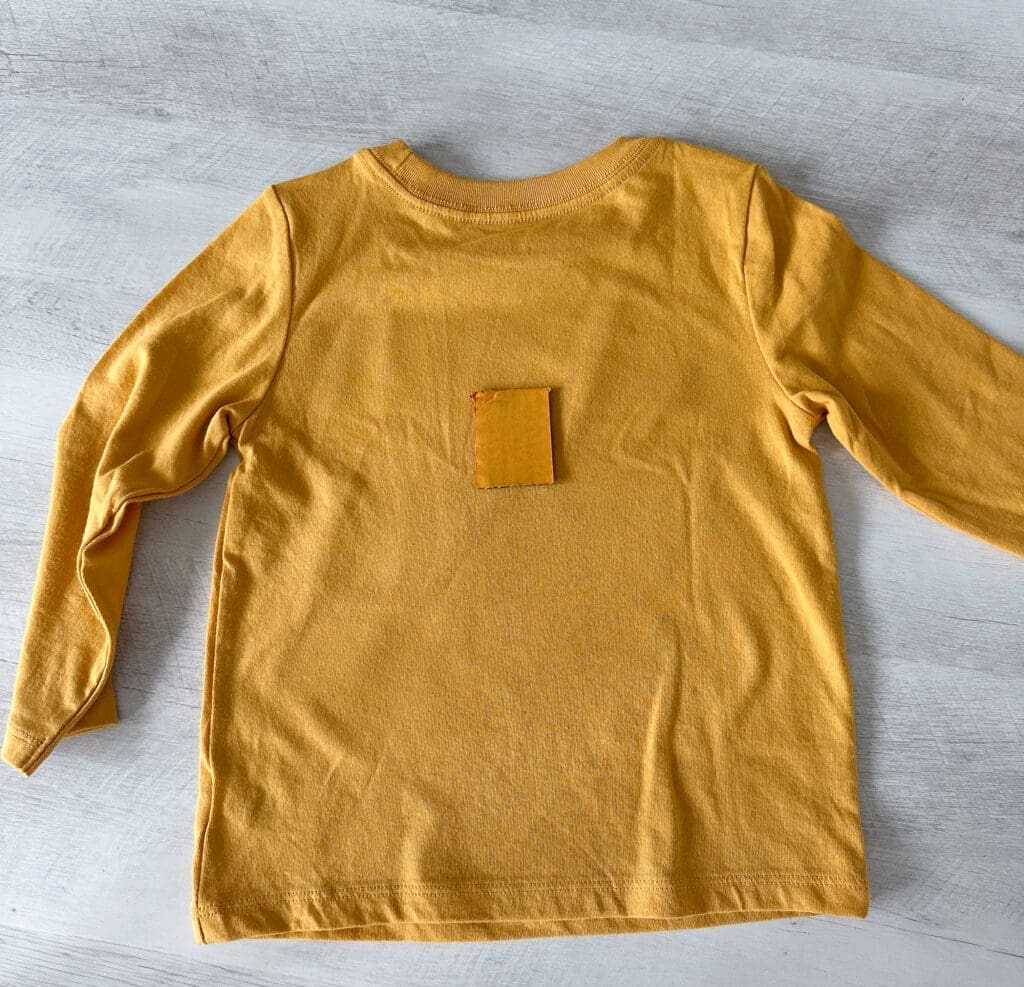
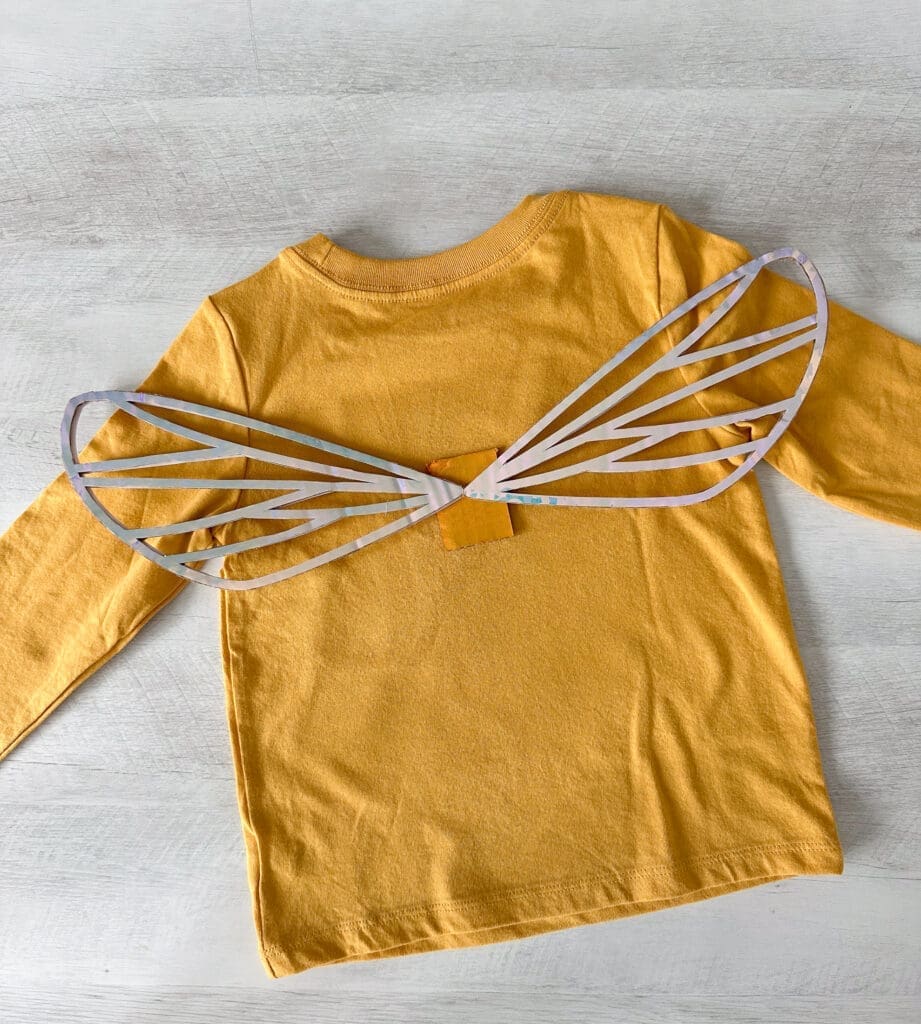
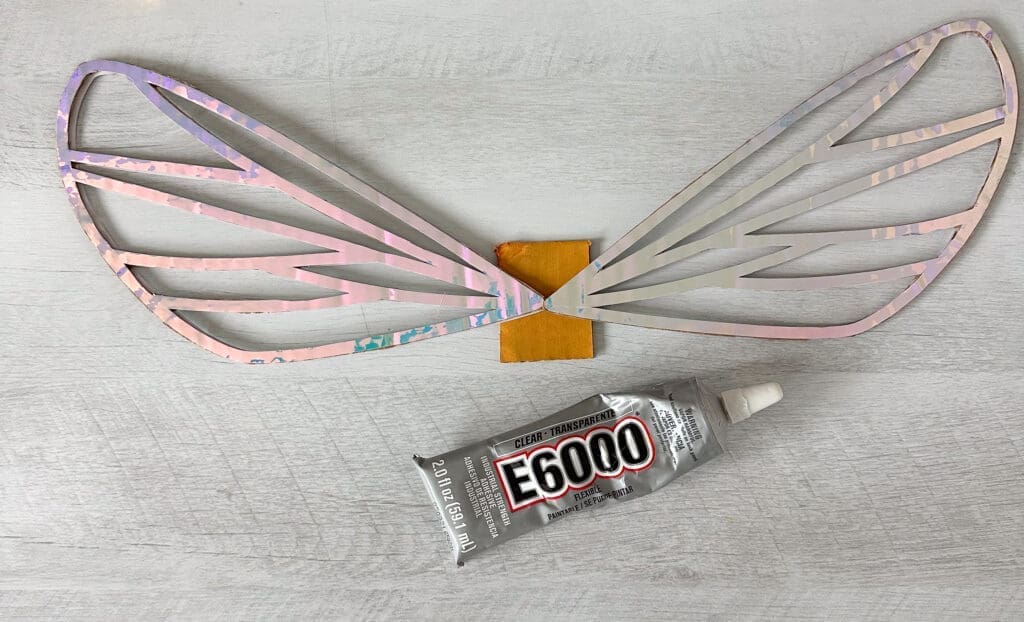
At this point you could opt to glue on straps if you want your wings to be easily removable! However, I decided I wanted these wings to attach directly to the shirt. I used curved saftey pins (that I normally would use to baste a quilt) and attached the cardboard to the back of the shirt. For this step, I started inside the shirt and poked the pins through, slipping them just partially through the cardboard on the other side. Be very careful to not poke all the way through the cardboard so your pins don’t show!
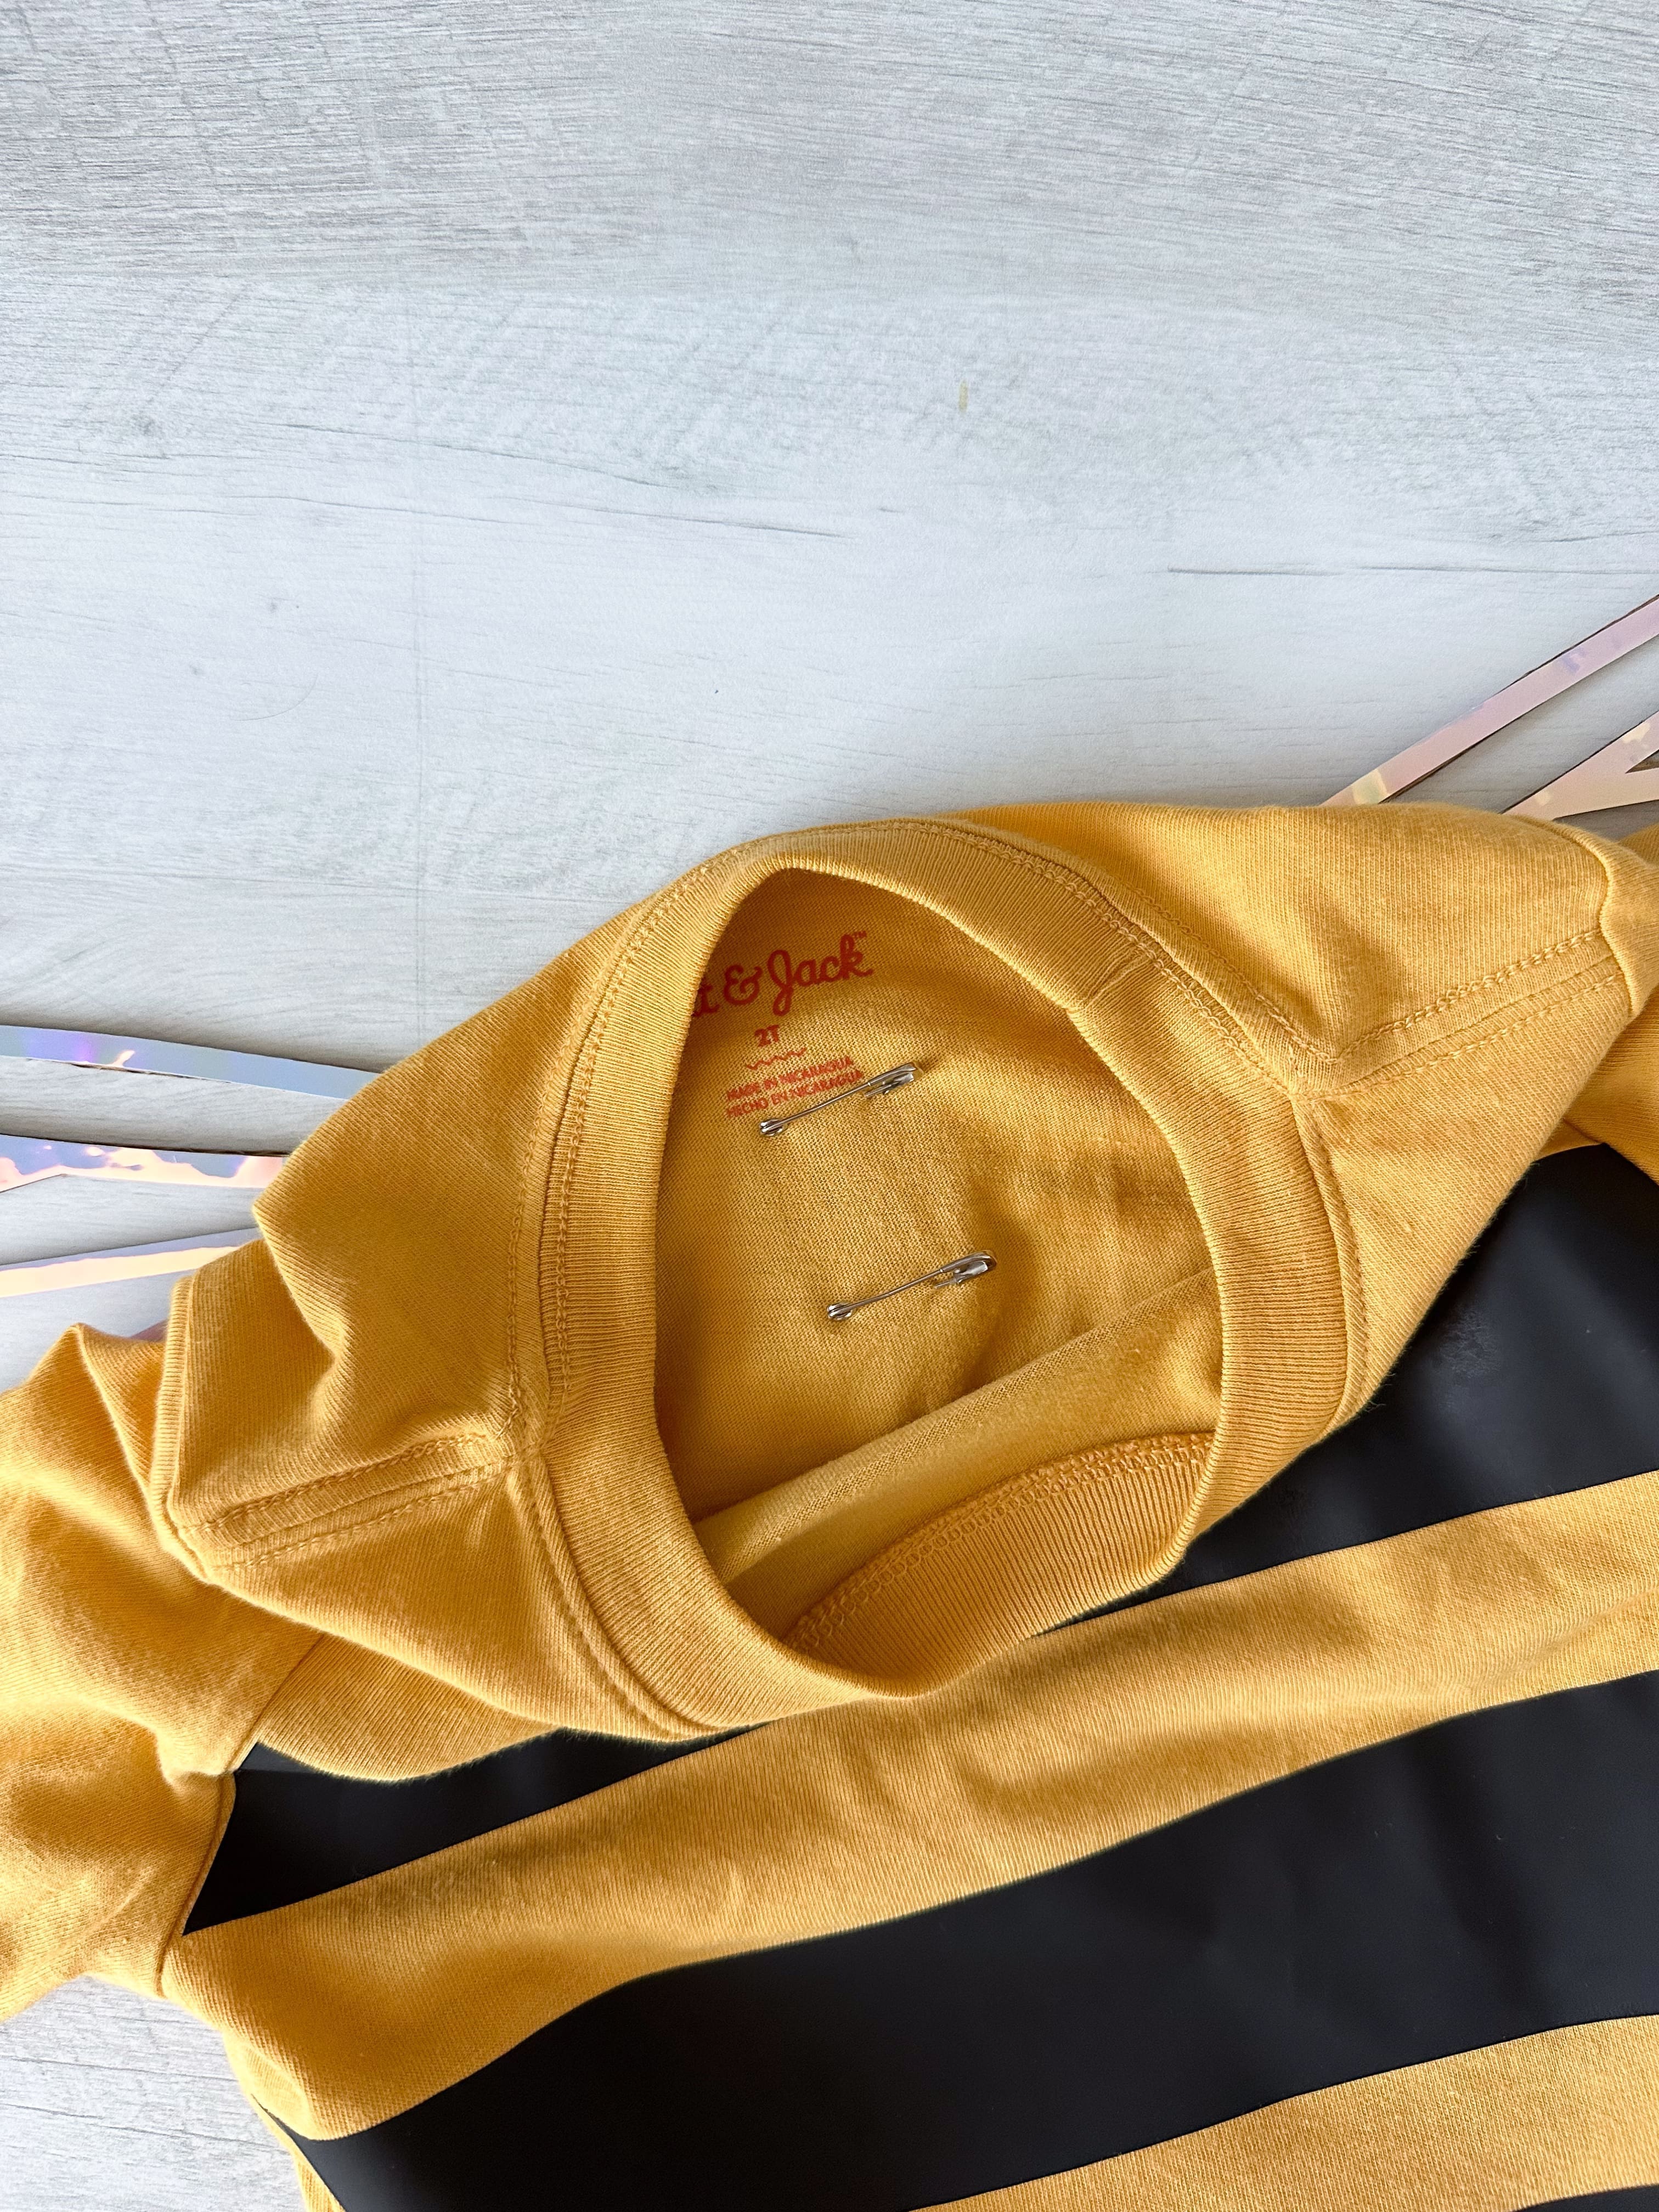
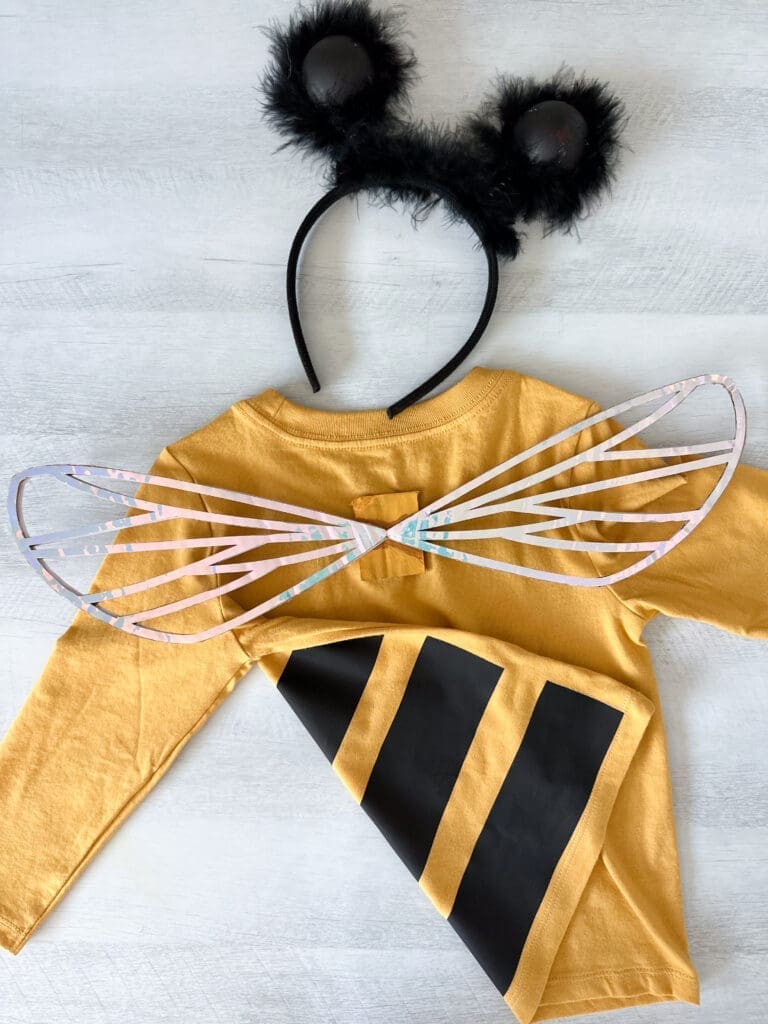
Now the bee is ready!
Step 4: The Honey Jar
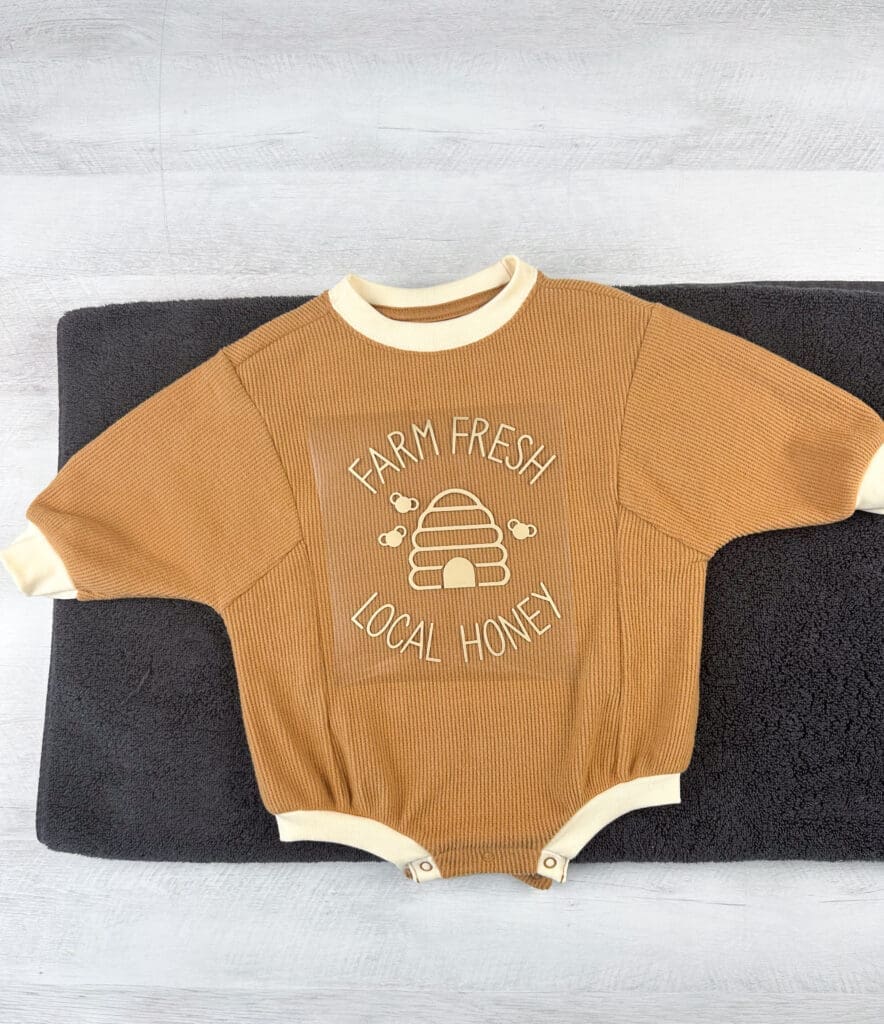
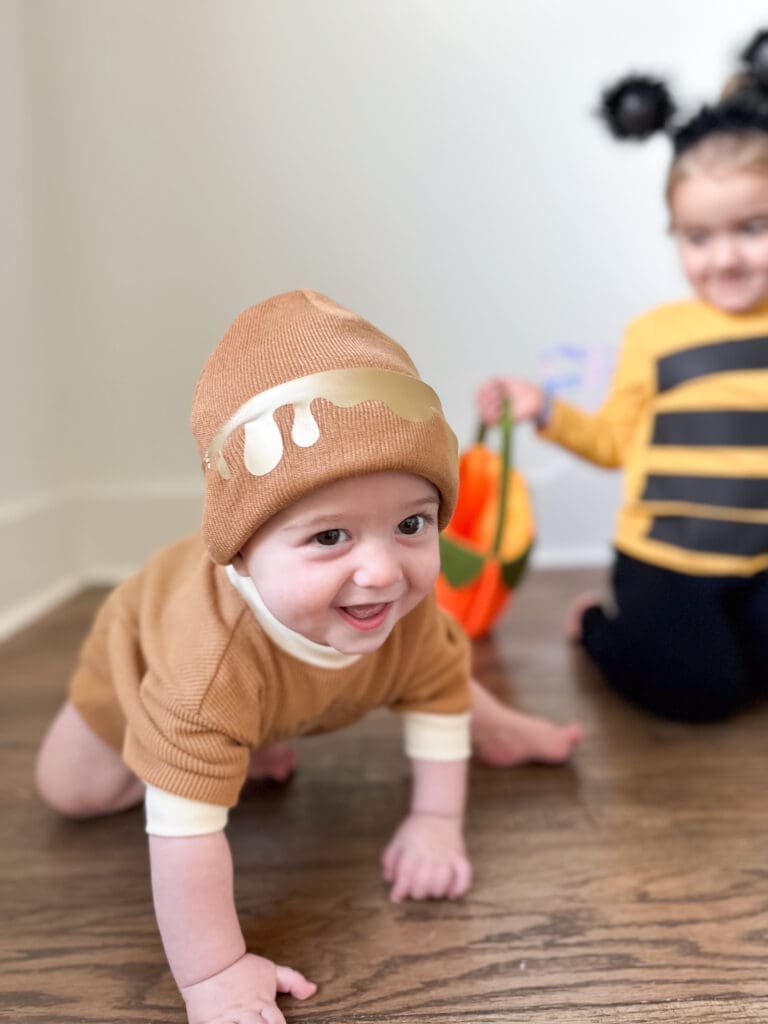
For the baby I decided to just apply simple vinyl designs to a comfy outfit. I chose a honey jar themed design for the onesie and selected a cute dripping honey design to place along the edge of a hat. Here are the designs I chose from the Cricut Library:
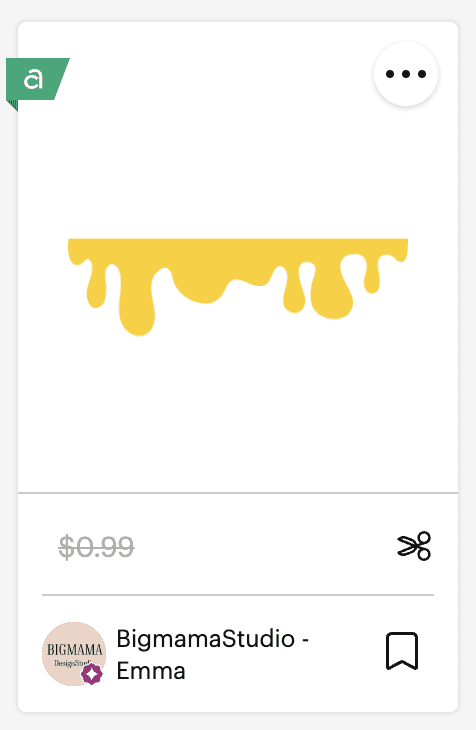
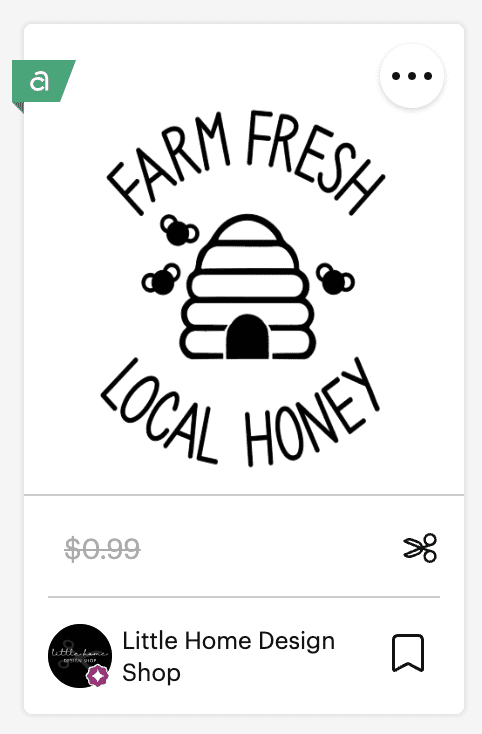
I went with a matte gold vinyl and measured, cut out, and ironed on both designs. Easy peasy baby squeezy!

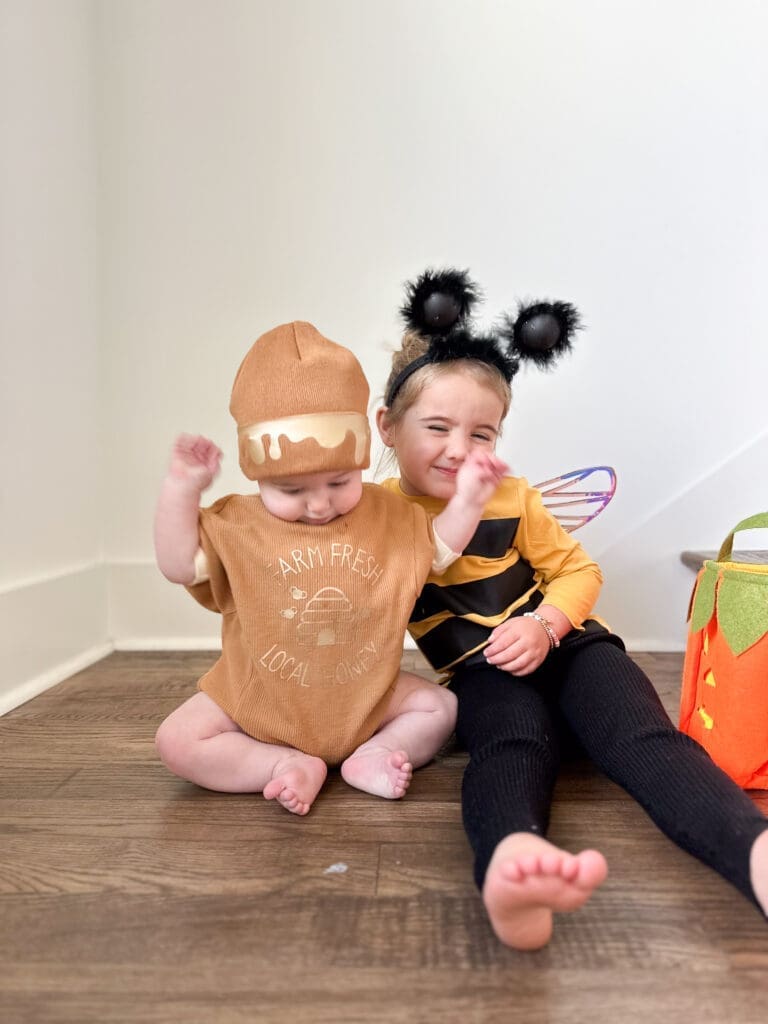
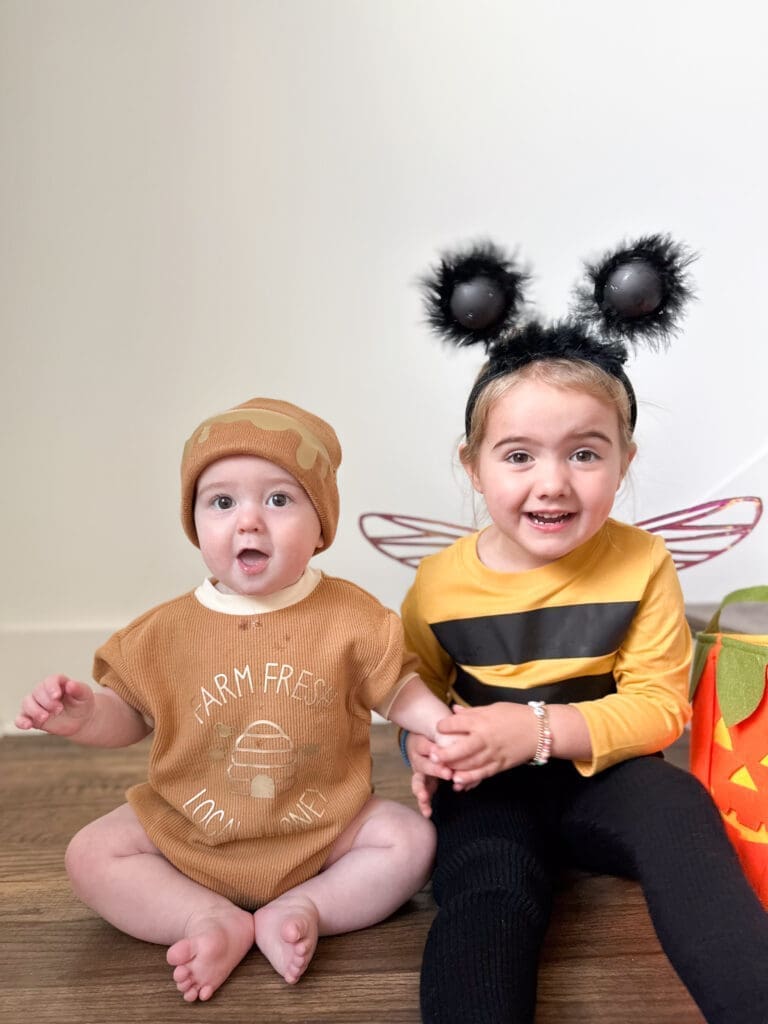
Step 5: Adorable Bee + Honey Jar Photo Shoot
This step is optional… but not really. 😉
I love how this quick Halloween costume project turned out — and best of all, so does my little Halloween-ready duo! I hope you have fun making your own Bee and Honey Jar kid’s costumes. If you do end up with your own bee-utiful creation, we’d love to see it! Be sure to tag @ZappyDots on Facebook and Instagram! Happy Halloween!

Leave a Reply