Plan in Style: Create a Colorful Custom Project Planner
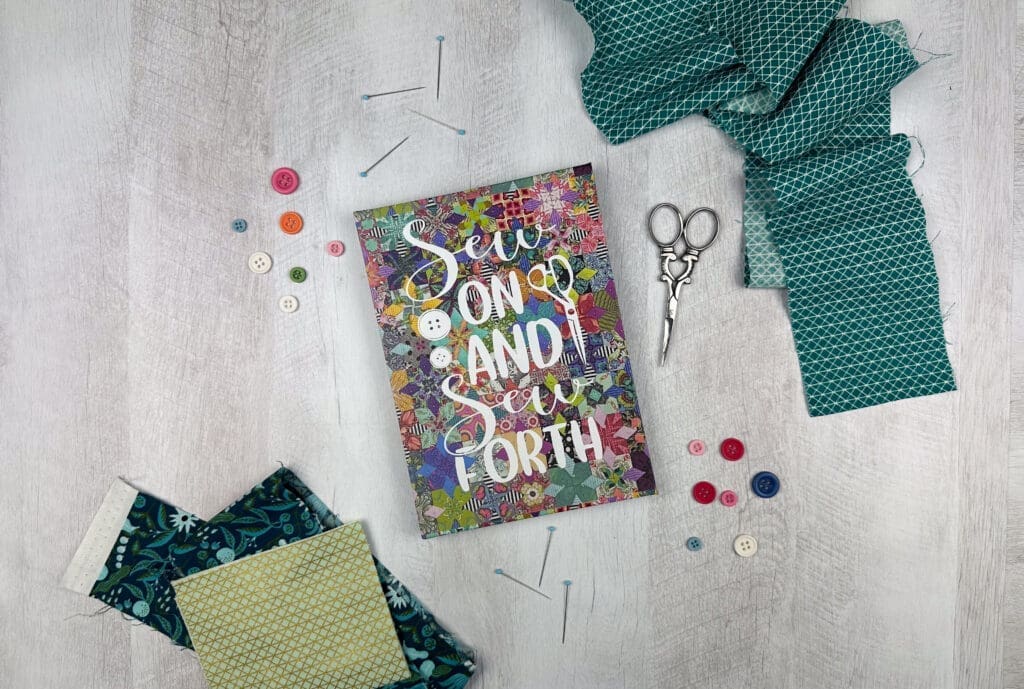
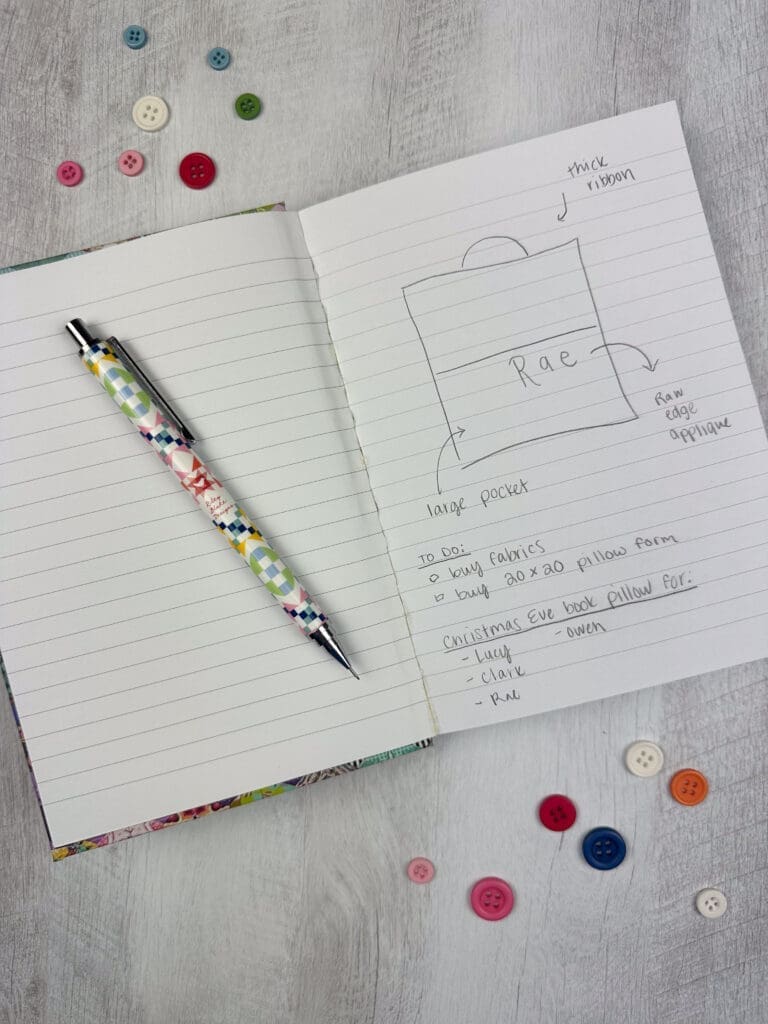
As a creative person I will often find myself being inspired with ideas in the most inconvenient places. For whatever reason, the grocery store checkout line and waiting rooms tend to be the most frequent. When inspiration strikes I like to have a small notebook handy to jot down my ideas and plan out my projects. Today I’m showing you how I embellished my favorite Zappy Dots Notebook to be my new Custom Project Planner!
I love this notebook because it’s sturdy and colorful, and the design wraps around to both sides. Plus, with 128 lines pages, I have plenty of space to fill it with my ideas! I chose the Simply Fussy Quilt Journal because it’s perfect for my fabric-loving self, but there are other creative journal designs to choose from:
Supplies for Your DIY Project Planner
- Zappy Dots Simply Fussy Quilt Journal
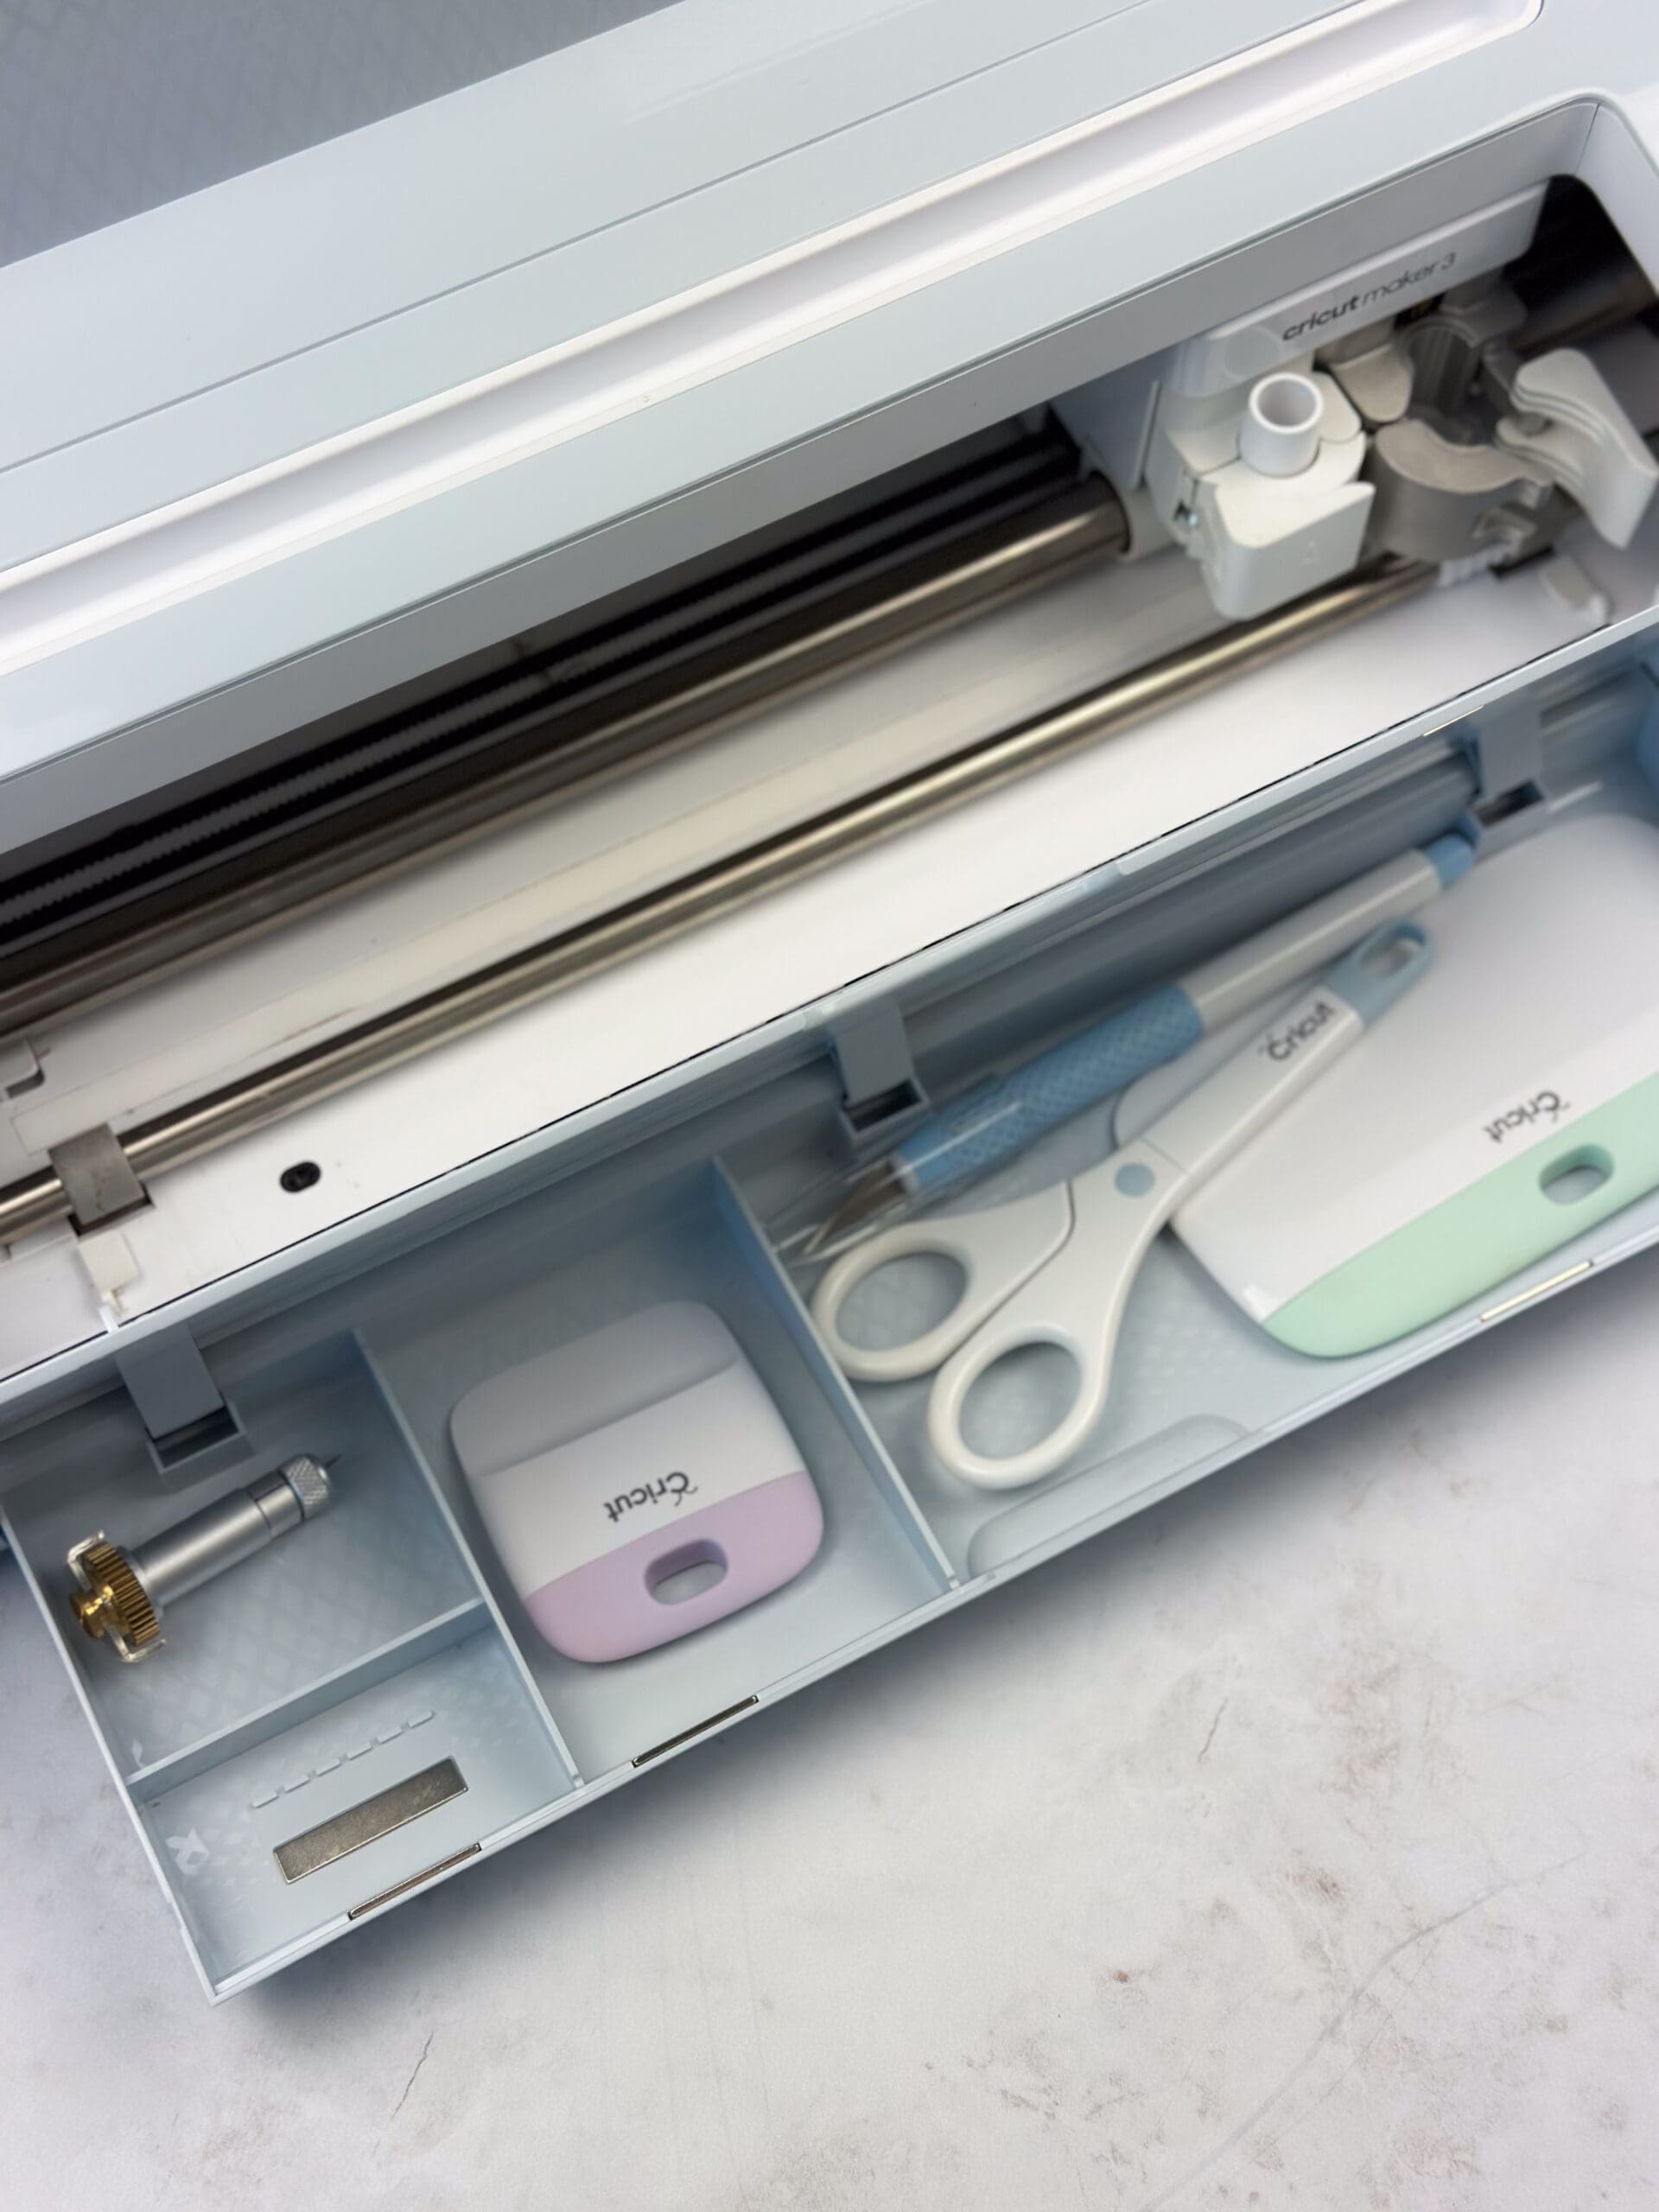
- Cricut Maker 3
- Cricut Smart Vinyl
- Cricut Transfer Tape
- Cricut Basic Tool Set
This is a fantastic project for a beginner Cricut Maker user. You can use the steps in this tutorial to apply any vinyl design you’d like, or you can CLICK HERE to use the same “Sew on and Sew Forth” design that we used by Cricut user svgocean.
Step 1: Cut Your Vinyl
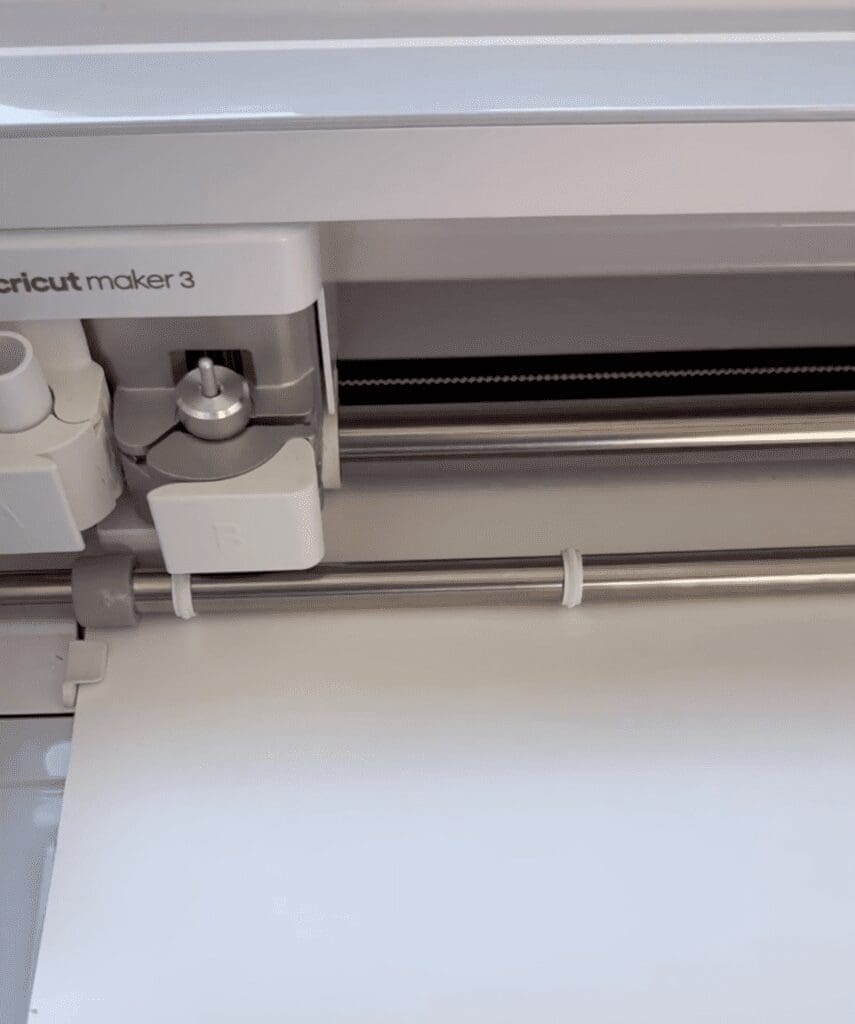
Select your design in Cricut Design space and load your Cricut Smart Vinyl of choice into your machine.
TIP: when using Cricut Smart materials you do not need to use a mat for the cutting process but we recommend keeping one handy to aid in step 2.
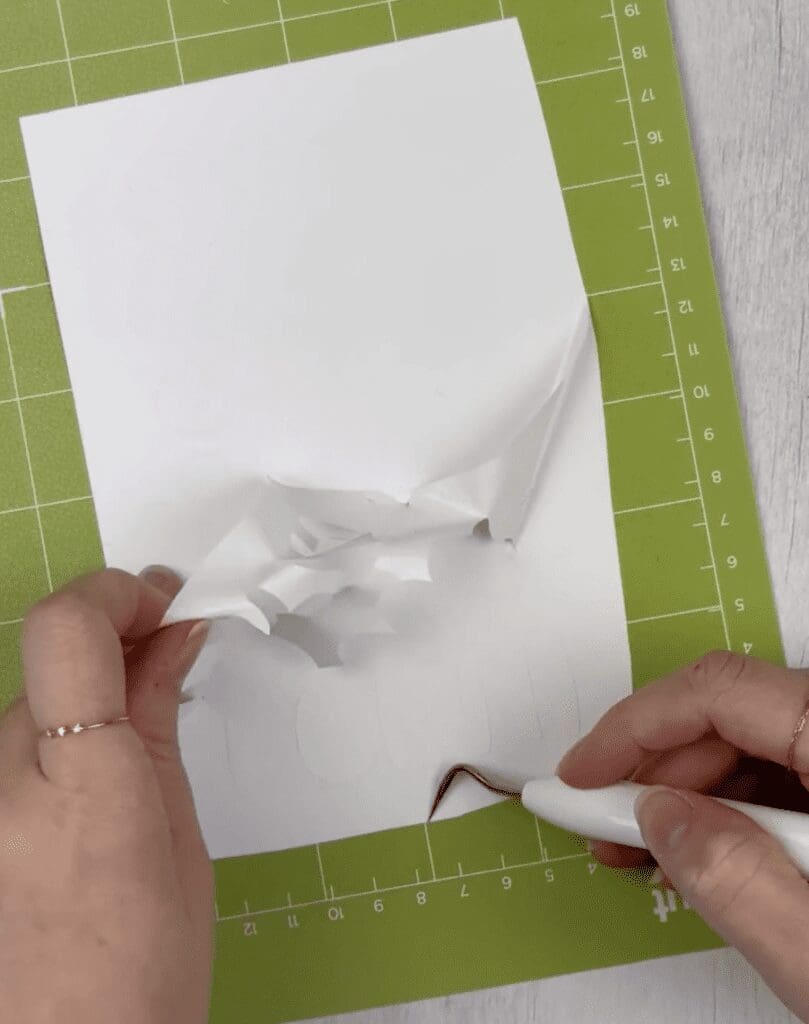
Step 2: Weed Your Design
Using your weeding tool, carefully weed away the excess vinyl leaving only the elements you want to transfer. Take your time with this step to be sure you are weeding away the correct sections!
Step 3: Apply Transfer Tape
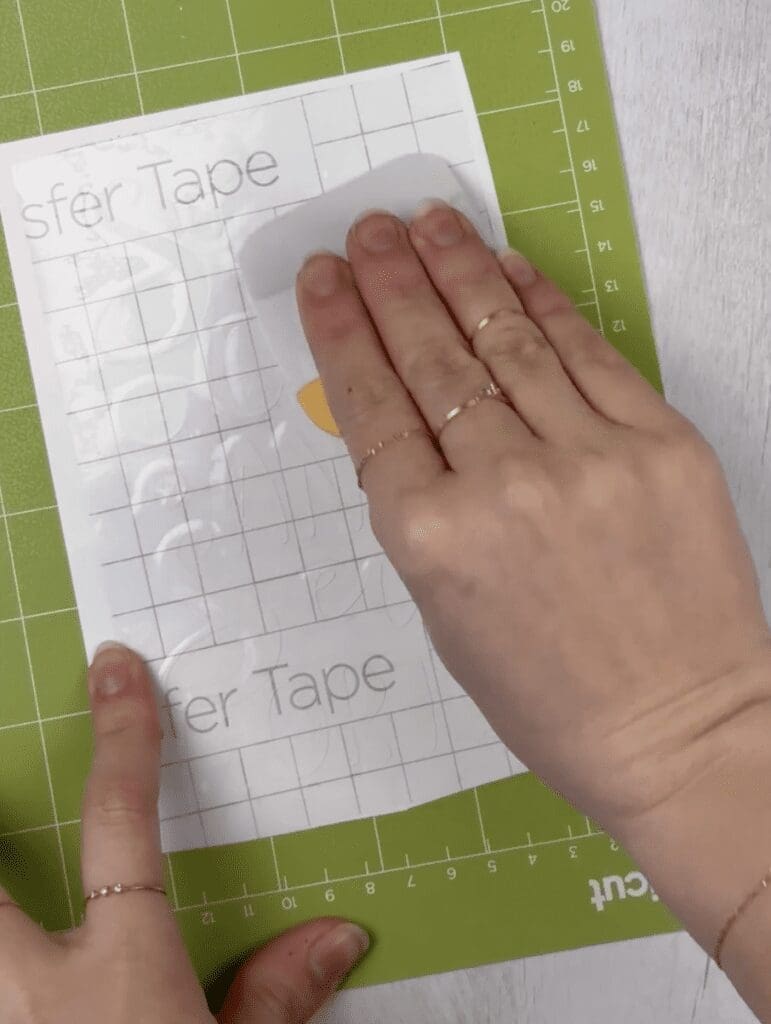
Now that your design is ready, cut a piece of your Cricut Transfer Tape to be slightly larger than your design and peel away the backing, adhering your tape directly on top of your design and use your scraping tool to apply firm pressure.
Step 4: Transfer Your Design
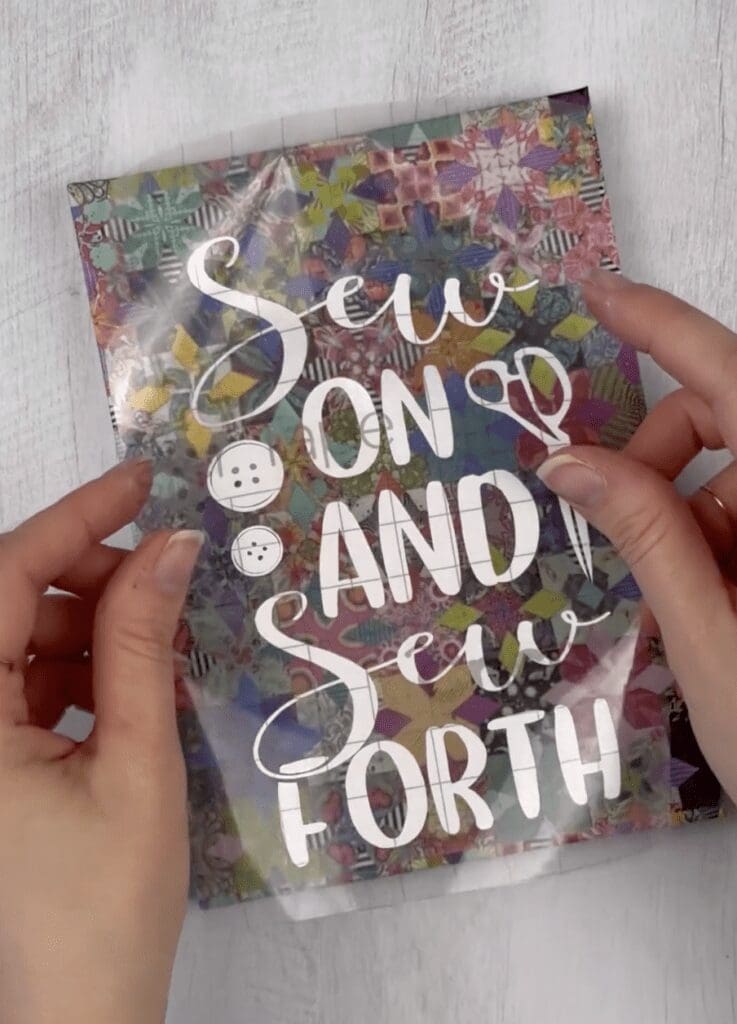
This is our last step! Carefully peel the transfer tape back up, checking along the way that your vinyl is being lifted away with it and sticking entirely to the tape. If you have trouble with this step apply firm pressure with your fingers and peel up in slower sections to transfer the design.
After your design is on your transfer tape simply place it on your journal cover, use your scraper to apply pressure, and remove the tape. That’s it!
Enjoy Your New Custom Project Planner!
I love this quick and easy Cricut project and I’m already putting it to good use. It’s such a simple process, and it would even make an adorable custom gift. (Monograms, quotes, names, school subjects — the possibilities are endless!)
What design would you add to your Zappy Dots custom project planner? Let us know in the comments!
